

Hello!
How’s making pixel art going for ya? Ah, an obstacle you say? Well, let’s learn something else while you find your inspiration. Or perhaps you’ll overcome your obstacle through one of the steps in the process of this particular pixel tutorial.
Let’s try something easy. We’ll look at pixel art tutorial for making pixel art trees. There’s many ways you can make them, but here’s a tutorial that’s one level higher than a simple pixel art tree. Let’s get right into it!
Introduction
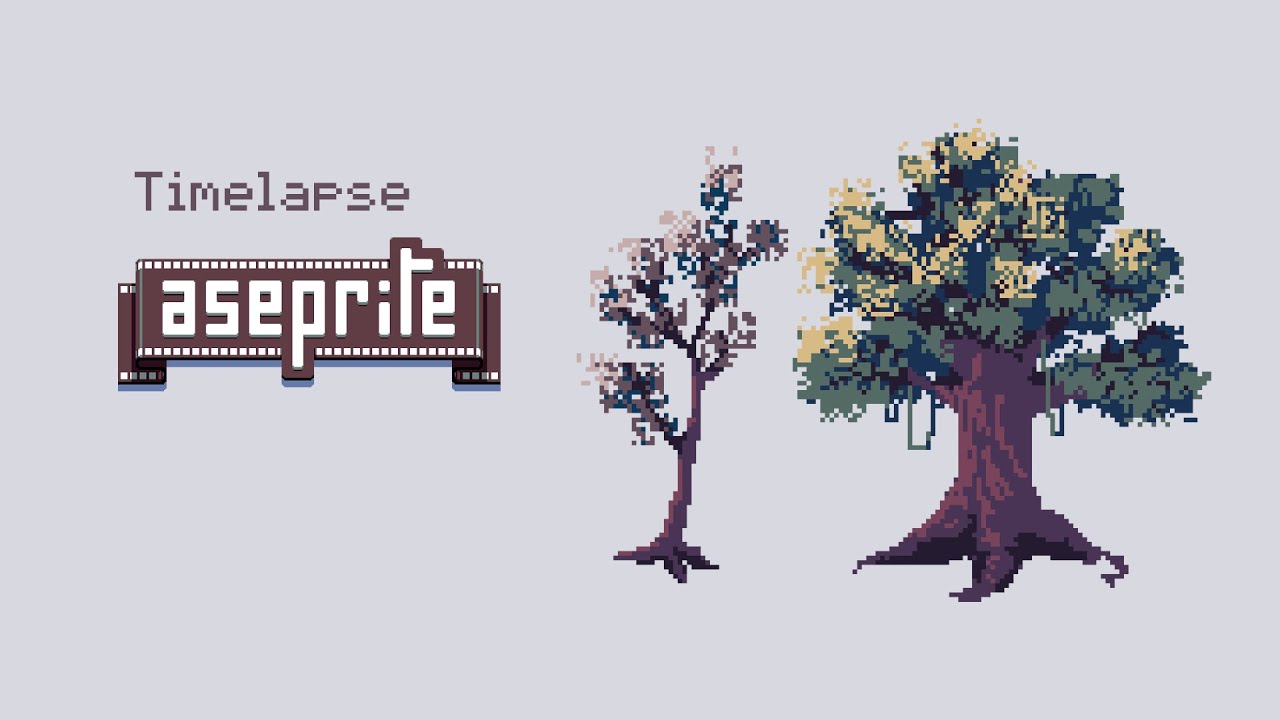
There’s a bunch of Youtube pixel art tutorials out there. From easy beginner pixel art to more complex compositions, using various softwares such as Photoshop to much more specific pixel art editors such as Aseprite. In today’s tutorial, we’ll be following along Thespian Pixels’ tree drawing tutorial. This will take place on Aseprite. Here’s the full video:
Unfortunately, the video does not come with any voiceover to help guide those who are more on the beginner level to pixel art. So, ya boy here is going to help you interpret the tutorial to get you started with drawing your own pretty pixel art trees.
Pixel Art Tree Final Results
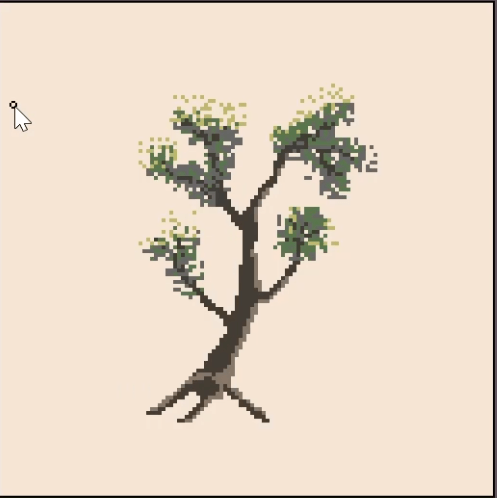
I mean come on, just look at that. And now here’s mine. Not too shabby for my first attempt. The’ll be definitely be a follow up to this tutorial.
Disclaimer: I’m in no way a professional pixel art. I’m an amateur artist, so a lot of this is just me trying to improve my own craft. So, there’s definitely better ways to tackle certain hurdles when it comes to making pixel art. This is just my own interpretation of my journey to reach some level of competence with pixel art.
The Process
- On the first layer, let’s lay some background color. Find a soft pastel color that’s on the lighter side. I went with this.

- You start off the process by blocking some shapes in. Use a bigger brush (more than 1px). Start shaping the main trunk of the tree. From there, adjust your brush to a smaller one to slowly draw smaller branches that split from the thicker branches. Use the image as your reference, or you can just look it up on Google Image.
Set up The Canvas

Take your time with this and try your best to define what a tree would look like. Does the thickness make sense in certain parts? What would a root system of a tree look like without the surrounding soil? Always use references photo when you’re unsure. I’ve gone with a slightly different tree structure than the one show in the tutorial, just to understand the process better.
2. It’s time to block some leaves in. We’ll be doing it by blocking several colors on different layers. Obviously, ain’t nobody going to draw leaves pixel by pixel, because you’ll probably be able to grow your own real life tree with the same amount of time it’s going to take.

Make a new layer ( Shortcut: Shift+N). Place the new layer below the tree trunk layer. Select your pencil tool. Set the brush to square. Increase the size to around 4-6px, depending on the size of your branches. Start blocking in the colors, Stack blocks close to each other and ensure it covers most of the tree’s branches. Don’t forget to also cover your branch endings.
3. Select your eraser tool. Set it to 1px in size. We’re going to start erasing parts of the color blocks that we’ve put in behind the branches. This is to simulate a layer of leaves. This process will be repeated a couple of times to give the tree a fuller look. Erase the colors and keep them sporadic and random. If you feel you overdid it, don’t worry. We can readjust it again. Or you could add the color blocks and erase it again.

4. Round 2 of blocking in a new layer of colors. This layer will be on top of the branch, as well as the first color. I’d recommend getting something in the grayish tone that you can use to replace later. This helps you to get that shades right. You’re going to need to block the new color to cover the end of the branches. Repeat the same process you’ve with the first round of blocking in colors. Try to gauge how the second color overlaps with the first one, and determine whether both colors give out a “fullness” look to the leaves of a tree top.

5. And finally, the last color. I suppose this is supposed to be the highlight colors where the source of the light is coming from, based on the color differences between the first two colors. I went with more of a yellowish green (more yellow). Instead of the whole branch, this time you’ll block the colors on the very edges of the tree. think of it where the sun hits the leaves of a tree. Sprinkle it around on all the branch endings you’ve made, just to give it some depth of 3D illusion to your pixel art.

6. We’ve reached the end of Part 1 of the tutorial. We’re going to be adding some shading to your tree trunk. To keep it precisely to your tree trunk without accidentally adding additional mass to it, choose the layer of the tree trunk. Use the Magic Wand (Shortcut: W) tool and select the tree trunk. Your entire tree trunk and branch system will be automatically selected. From the tutorial video, Thespian Pixels used two additional colors for the trunk. A mid-tone and a lighter one in order to give more depth. Select the appropriate colors, and start shading in the new color. A liberal use of the mid-tone, around the center portion of the tree trunk, tapering off at the roots. Use the lighter tones at the edges of the tree trunk, similar to the area where the light source is. So, left side of the tree trunk.

And that’s it. Here’s a couple of my notes while I was trying this tutorial, to remind myself about some aspect of the process and perhaps, some new information for you.
Notes
- Color Replace function is a useful tool to play around with hue shifting. Select the color you would like to change with the Eyedropper tool (shortcut: I), and click on the color. Go to Edit > Replace Color (shortcut: Shift + R) and replace the selected color to a new one. This will apply to all the colors on the layer. You can apply it on all layers or just the selected one.

- Always remember to switch between layers when you’re adding something new to your art. I made the mistake of adding a new branch on the wrong layer. Luckily, this is an easy fix in this case. All I had to use the magic wand tool, select it, cut it (Shortcut: Ctrl + X), select the correct layer, and paste it there.
- My initial tree trunk colors are wrong. The highlight colors are on the right side, instead of the left. Besides that, I also did not use mid-tone color, as you can clearly see from my attempt at the beginning of this post. I need a new screen.
- My highlights on top of the tree is a bit too separated, so it sort of looks like it’s floating on empty space instead of being part of the tree. I need to bring it closer to the rest of the leaves.
And that’s it! Happy creating. I’ll be making a better version of my initial tree, as well as the second part of the tutorial in the video. Still a tree, but a thicc tree. That should be fun! A big shoutout to Thespian Pixels for this tree tutorial. I always wanted to learn to make pixel art that employs pastel colors that gives it dreamy vibes. Check out Thespian Pixels other videos on YouTube here.


Pixel Art Follow Along Tutorial Series: Scenery #1 - Mesh Content
September 7, 2021[…] a simple scenery. A simple scene using pixel art principles. Check out the pixel art tree tutorial here, and perhaps you could add it into this […]