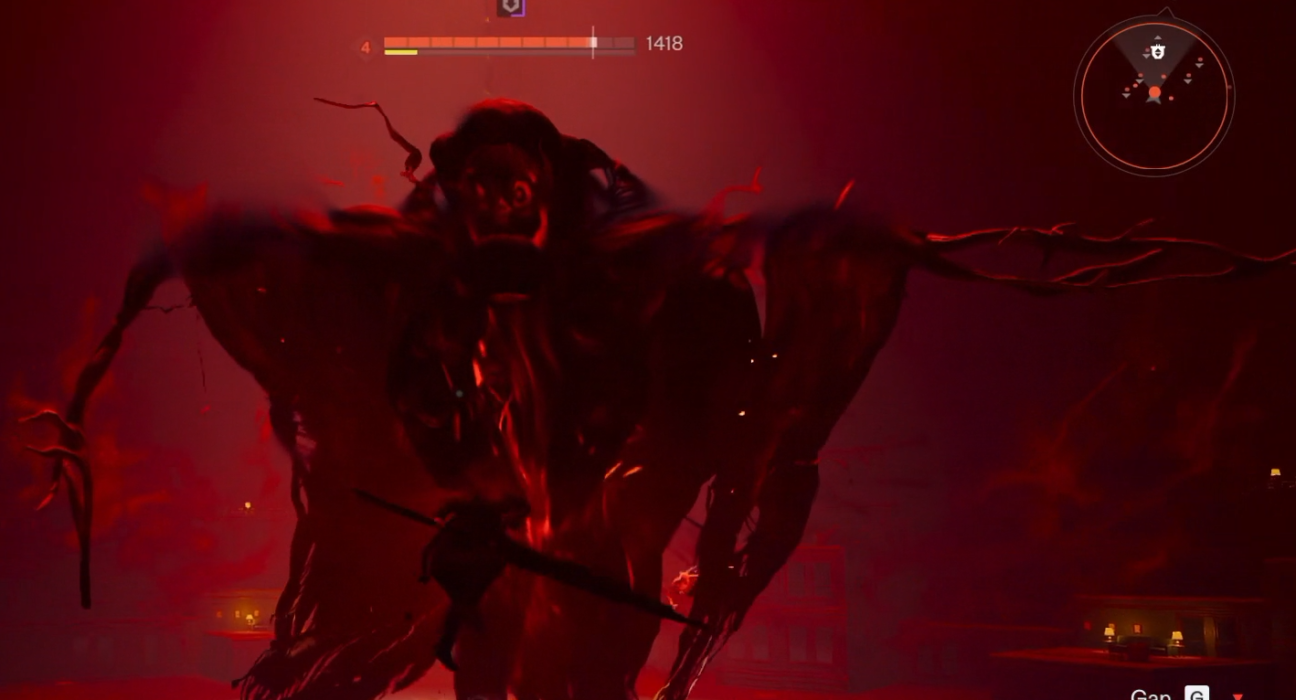
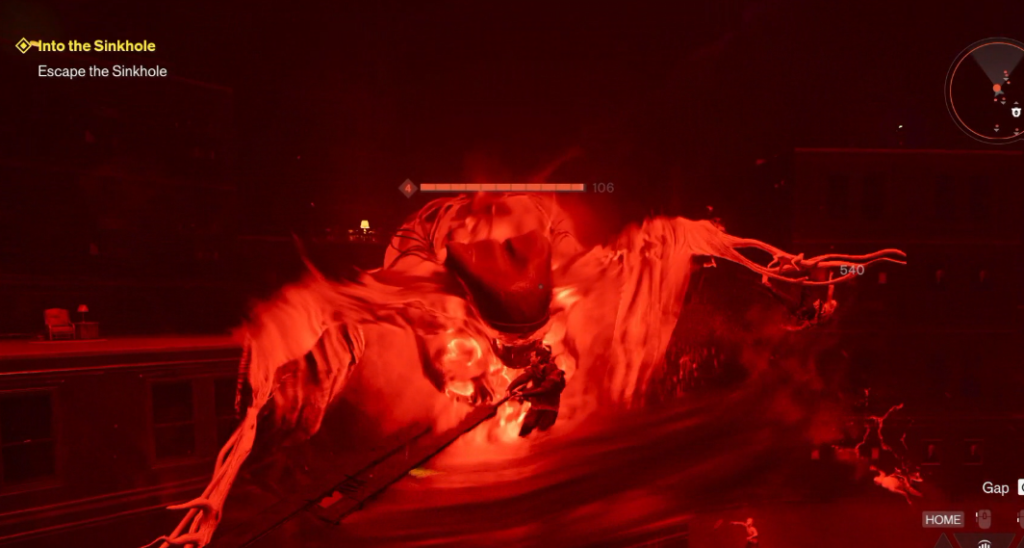
The Hiss Ruiner can be a real chore to beat, especially because the other Hiss enemies in the arena can take you out before the boss even appears.
The key is to eliminate the more dangerous Hiss types first while using Execute to stay alive and increase your damage. Save the laser enemies for last, as their attacks can damage other enemies in the arena. Once the Hiss Ruiner appears, avoid its attacks and wait for it to land after every two attacks. This is your best opportunity to deal heavy damage.
Rinse and repeat until the Hiss Ruiner is defeated.
Check out the full Hiss Ruiner boss fight on YouTube if you need more guidance.
Know Thy Enemy
Before taking on the Hiss Ruiner, it helps to know what you’re up against. The enemies that appear before the boss can easily wear you down, leaving you with too little health to survive the main fight.
Disclaimer: These are descriptive names we’ve used for the different Hiss enemies and may not be their official names.
Fire Throwers – Throw incendiary projectiles that explode after a few seconds and can inflict burning damage.
Flying Hiss – Fires a powerful laser beam that incinerates everything in its path, including other enemies.
Laser Face – produces a beam of laser that incinerates everything in its path.
Sword Hands Hiss – Agile melee enemies capable of dealing high damage at close range.
Blade-Swinging Hiss – Common enemies found throughout the game that attack with a sword-like appendage when you’re within range.
Regular Hiss – Standard enemies that attack with projectiles or melee attacks depending on your distance from them.
Hiss Ruiner [The Big Boss] – The main boss. It uses several powerful attacks before periodically landing in the arena to recharge.
First Objective: Eliminate the Special Hiss
Your first priority is to eliminate the special enemy types. Once defeated, they will not respawn when the Hiss Ruiner appears. Regular Hiss and the flying kamikaze enemies will continue to spawn during the boss fight.
The opening battle can become messy and disorientating very quickly, so focus on eliminating enemies while performing Execute whenever possible to keep your health up.
Kill the Fire Throwers First
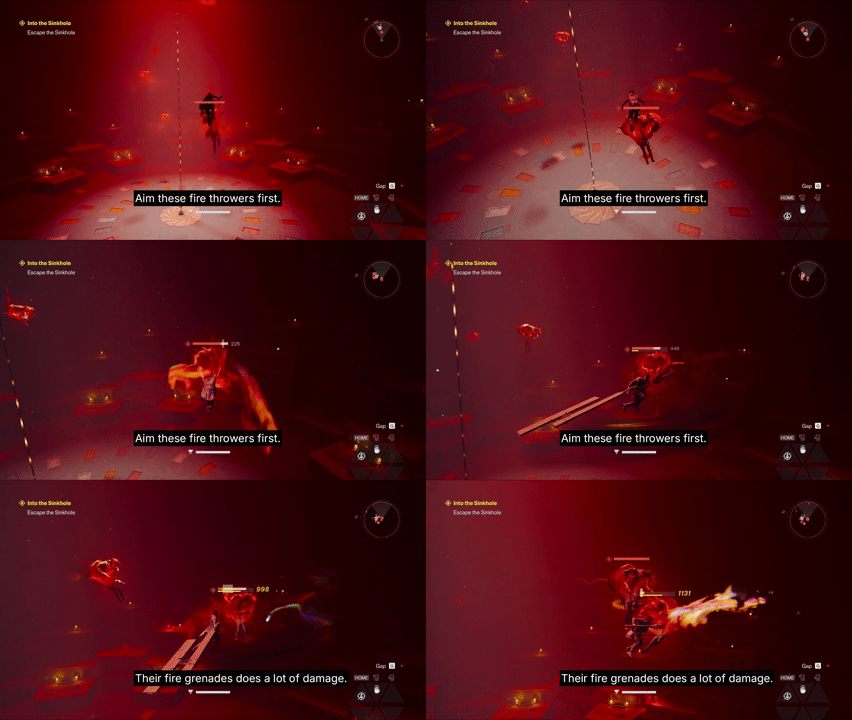
These are perhaps the sneakiest enemies in the fight. When you’re in the thick of battle, it’s easy to miss the incendiary projectiles they’ve dropped near you or behind the enemies you’re fighting. Before you know it, you’ve taken damage and are suffering from the burning effect.
Take them out first.
They appear as soon as the battle begins, so levitate and dash towards them before they have a chance to fill the arena with explosives. Keep an eye on the incoming-attack indicators as well, as the flying Hiss will soon begin targeting you.
Ground and Pound
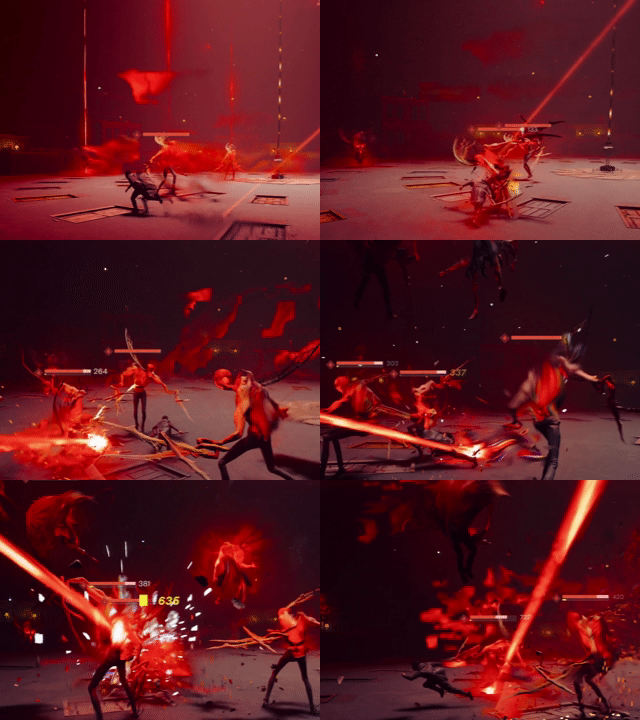
Next, focus on the larger Sword Hands Hiss. Their attacks are fast and can catch you before you have time to dodge.
As you fight them, try to build Falter across the surrounding enemies. This creates more opportunities to perform Execute, which is one of the most important tools for surviving this encounter.
Executing enemies gives you opportunities to heal while activating Dominance provides an additional damage boost, helping you clear the arena faster.
For our Falter-building combo, we use Shield followed by Shield Dash into groups of enemies. Take every opportunity to Execute enemies and activate Dominance. You’ll regain health while dealing more damage to nearby enemies.
Keep moving and evade incoming attacks as you gradually thin out the horde.
Save Laser Face for Last
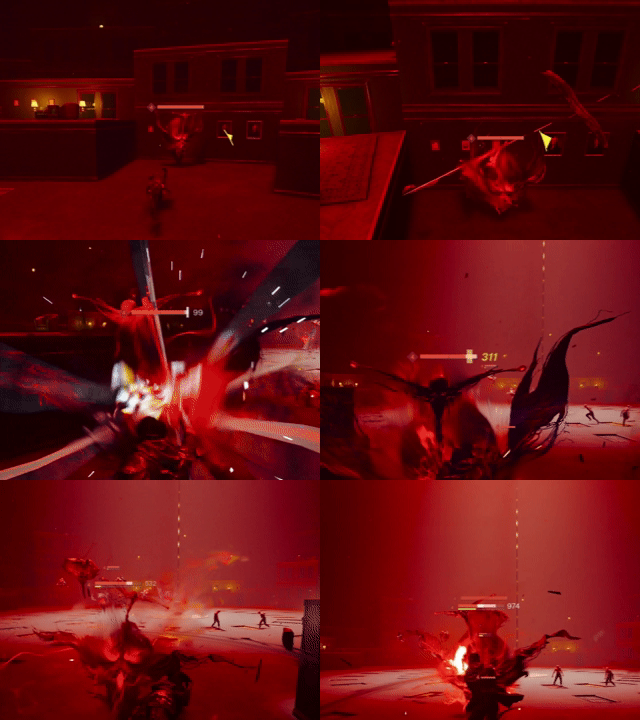
These annoying enemies fire powerful laser beams across the arena. Luckily, those beams can also hurt other Hiss.
Use this to your advantage.
Position groups of enemies between yourself and Laser Face whenever possible, allowing its beam to damage them for you. Once you’ve eliminated the other special enemy types, turn your attention to the remaining Laser Faces.
They’re relatively straightforward to deal with once isolated because they only have one main attack, which can also be interrupted with combo finishers.
Main Objective: Defeat the Hiss Ruiner
Once the special Hiss are gone, the Hiss Ruiner will enter the fight. You’ll still have regular Hiss and flying kamikaze enemies to deal with, but this can actually work in your favour.
Use these weaker enemies to trigger Execute and Dominance, then use the resulting damage boost against the Hiss Ruiner.
The boss cycles through several attacks before eventually landing in the arena.
Attack Pattern One: Triple Laser Beam
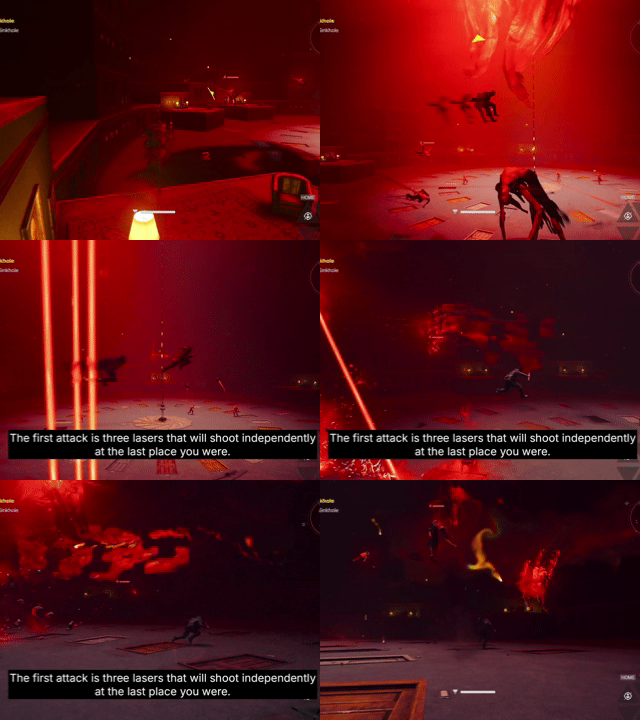
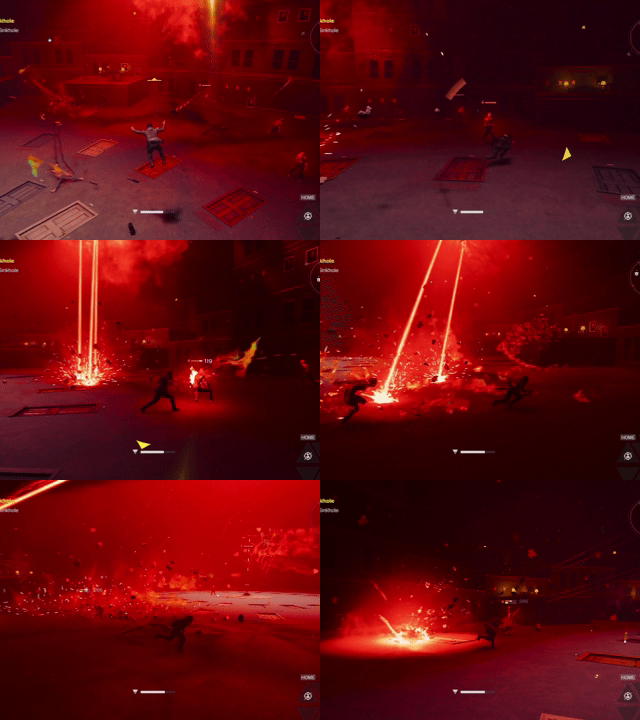
The Hiss Ruiner fires three laser beams that track towards your previous position.
The beams sweep across the arena one after another, with each one slightly adjusting its direction in an attempt to catch you. Avoid getting hit whenever possible, as these lasers deal heavy damage.
Keep moving and use Dash to reposition yourself as each beam approaches.
Attack Pattern Two: Projectiles
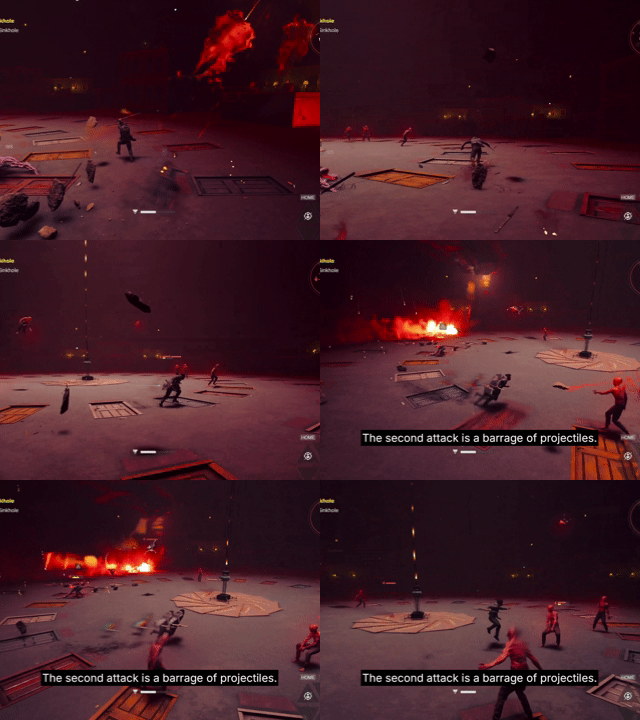
The Hiss Ruiner launches a barrage of projectiles towards you.
This is one of its easier attacks to avoid. Keep moving around the arena and use Dash whenever necessary to stay ahead of the projectiles.
Attack Pattern Three: Laser Dance
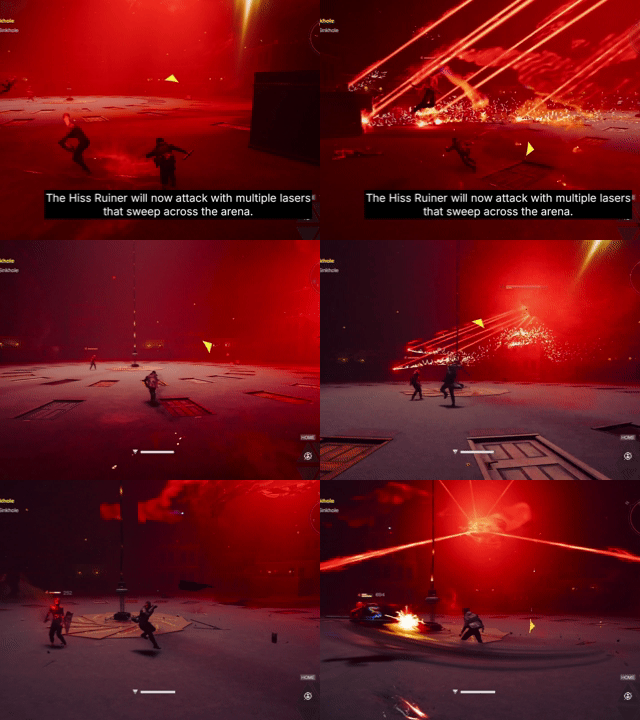
Instead of firing its lasers individually, the Hiss Ruiner flies around the arena while firing multiple lasers in different directions.
It looks chaotic, but the attack is more manageable than it first appears. Try to stay relatively close to the boss and move with it rather than attempting to outrun the lasers across the entire arena.
These lasers can also damage the regular Hiss, so use the chaos to your advantage. If you’re running low on health, this is also a good opportunity to move around the arena and collect any healing orbs you’ve left behind.
Downtime: Your Best Damage Window
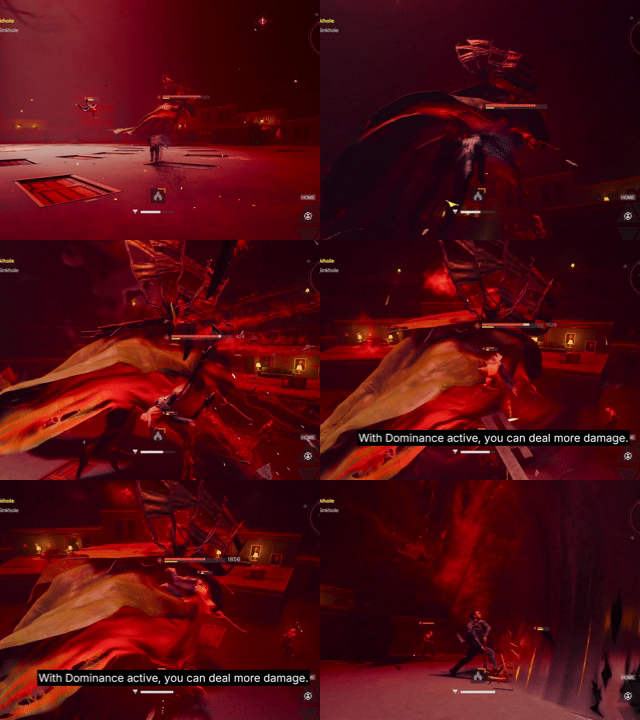
After every two attacks, the Hiss Ruiner lands in the arena to recharge.
This is your best opportunity to deal heavy damage because the boss cannot retaliate while recharging.
If possible, perform Execute on a nearby enemy before approaching the Hiss Ruiner. This activates Dominance and gives you a damage boost that you can pour directly into the boss.
Once it takes off again, return to avoiding its attacks and dealing with the weaker Hiss.
Repeat the process until the Hiss Ruiner is defeated.
Once the boss dies, the remaining enemies are automatically defeated and you can progress to the next part of the mission.
If you’re having trouble figuring out where to go after the battle, check out this video.
Other Tips
Look for healing orbs around the arena. If you’re desperately low on health, check the edges of the arena and the tops of the buildings. You may find blue healing orbs left behind from previously defeated enemies.
Don’t rush the boss spawn. Defeating all the special enemy types triggers the next stage of the encounter. If you’re low on health, leave the final special enemy alive temporarily and use the regular Hiss to trigger Execute and recover before progressing.
Keep moving. Standing still is particularly dangerous in this encounter because several different enemies can attack you from outside your field of view.
Use the Hiss against each other. Laser attacks from both Laser Face and the Hiss Ruiner can damage other enemies. Positioning yourself carefully can significantly reduce the amount of work you need to do yourself.
Prioritise survival over damage. When the Hiss Ruiner is airborne, you don’t need to constantly attack it. Focus on avoiding its attacks, maintaining your health and preparing for the next recharge window. You’ll have a much safer opportunity to deal damage once it lands.