


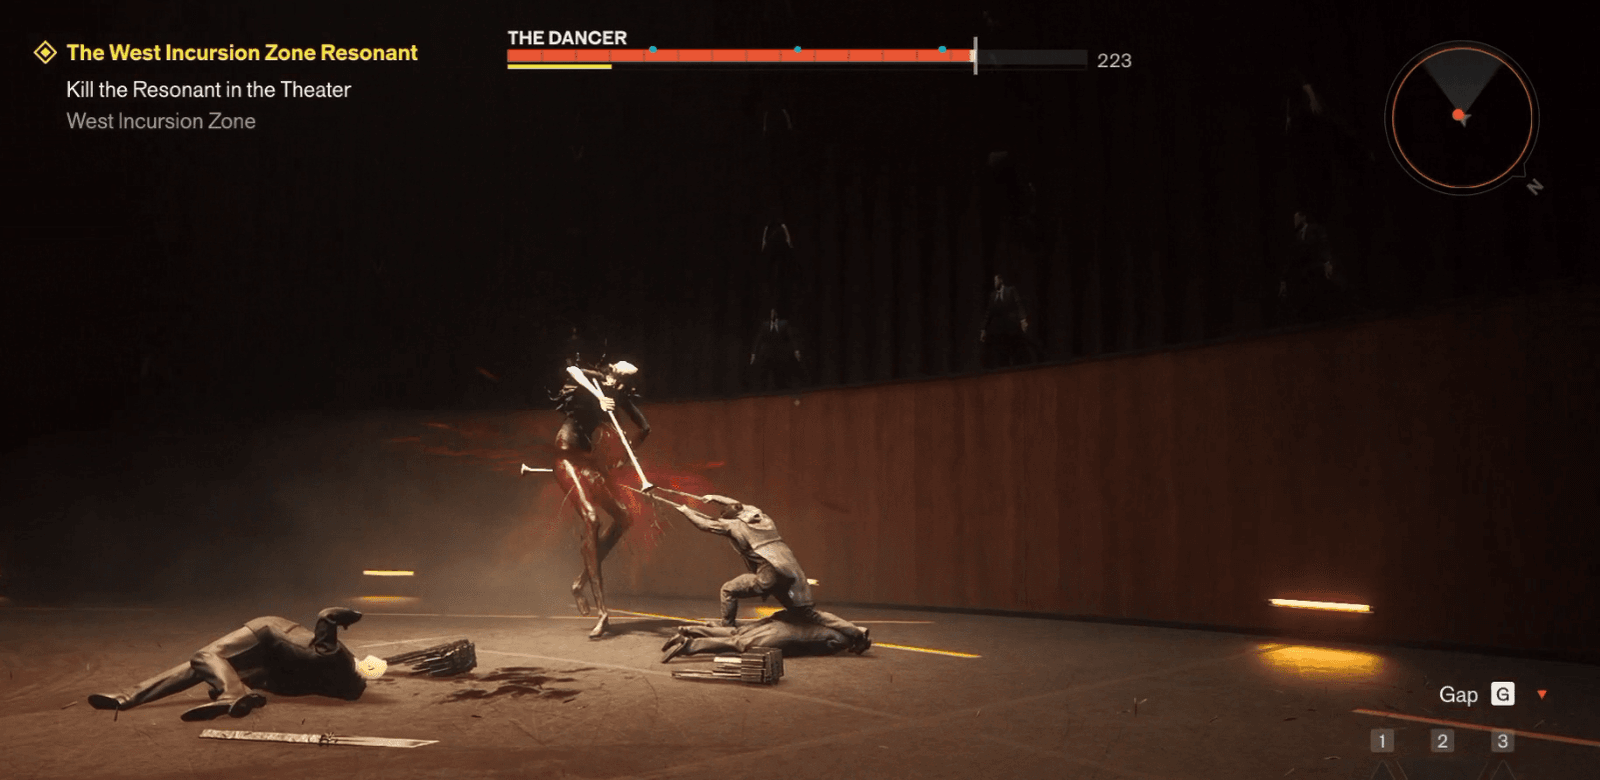

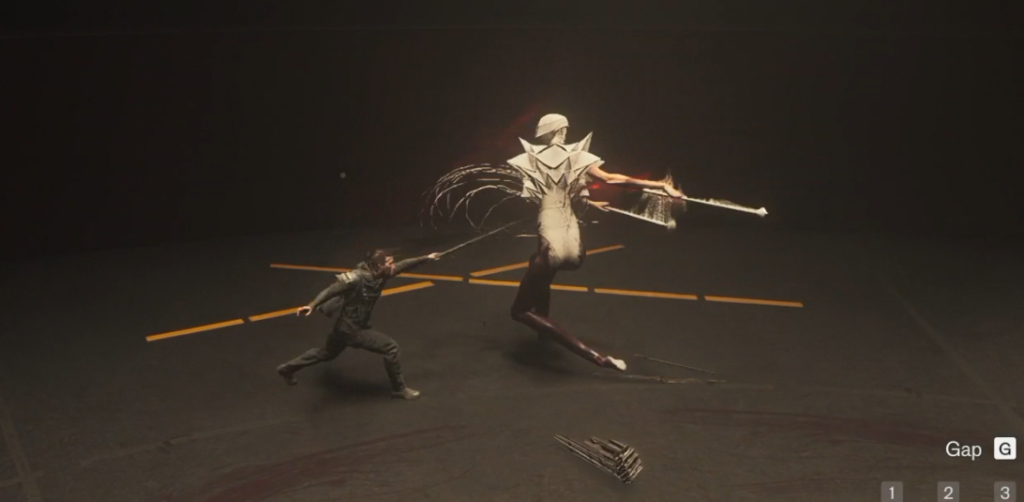
The Dancer is one of the bosses you’ll encounter in Control Resonant. The fight revolves heavily around recognizing its attack patterns, dodging at the right moment, and quickly closing the distance to deal damage. Take note that The Dancer has two phases.
This guide explains how to beat The Dancer, including its attack patterns, HP checkpoints, and the best opportunities to attack.
Control Resonant The Dancer Boss Fight Walkthrough

Starting the Fight
Head towards the arena from the starting area. This is where you will respawn if you die during this particular fight. Immediately start attacking The Dancer. Just like The Artist, it is important to keep attacking and chipping away at its health bar. This helps you reach the HP restore points, which will heal you and help you complete the boss fight.
The Dancer’s First Attack Pattern


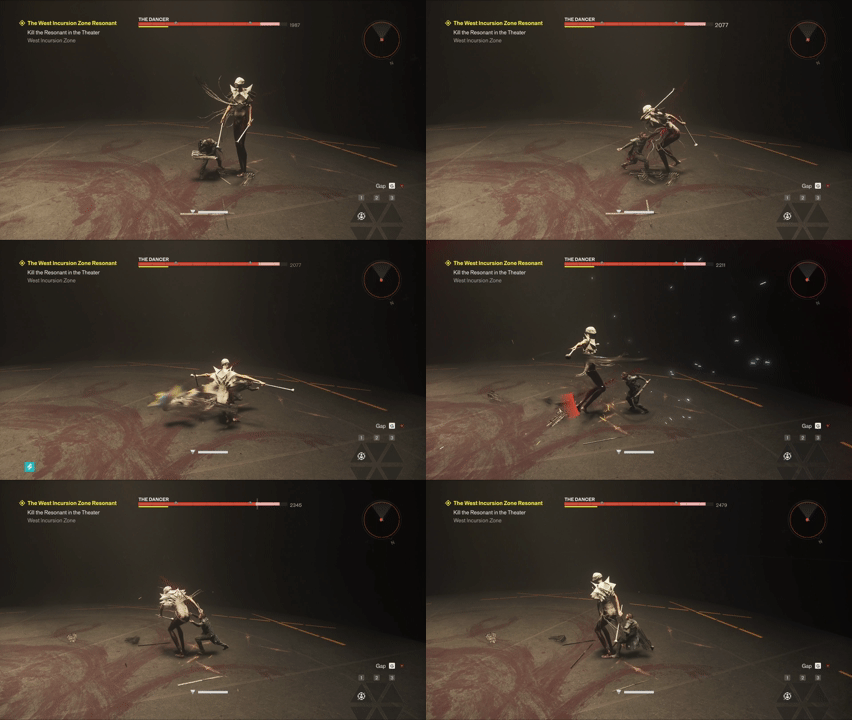
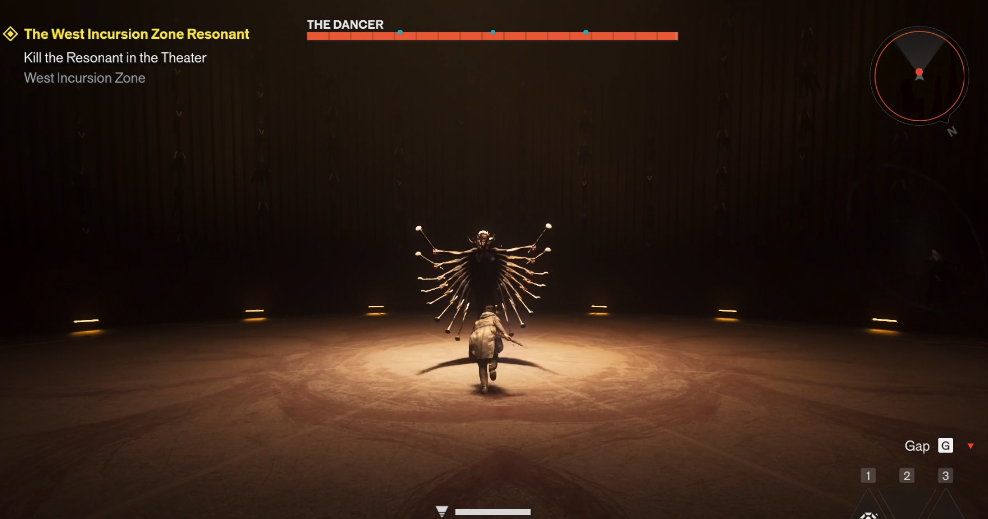
The first attack pattern consists of a full spin with its hands extended. The Dancer does this attack either at one point or glides the arena.
Dash to dodge the attack, then Dash again to close the distance and continue attacking. The Dancer will use this attack regularly, along with its second attack pattern.
The Dancer’s Second Attack Pattern
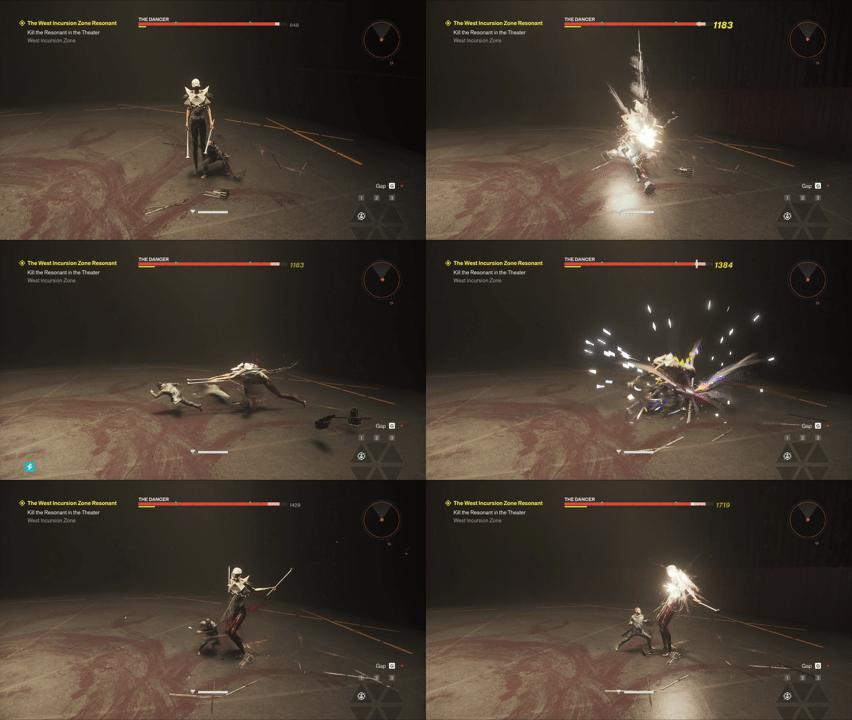
For another melee attack, The Dancer shapes its arms into a forward thrust aimed at you. Dodge it with Dash. The Dancer will continue to use these two attack patterns throughout this part of the fight.
First HP Checkpoint
Once you reach the first HP checkpoint, The Dancer’s attacks will intensify. Its second attack pattern will now become a sequence of three distinct attacks. The Dancer will also use stationary and moving spin attacks. All of these attacks can be easily dodged using Dash. Remember to Dash back towards The Dancer to close the distance and continue attacking.
Now we enter Phase 2 of The Dancer.

The Dancer Phase Two: First Attack Pattern
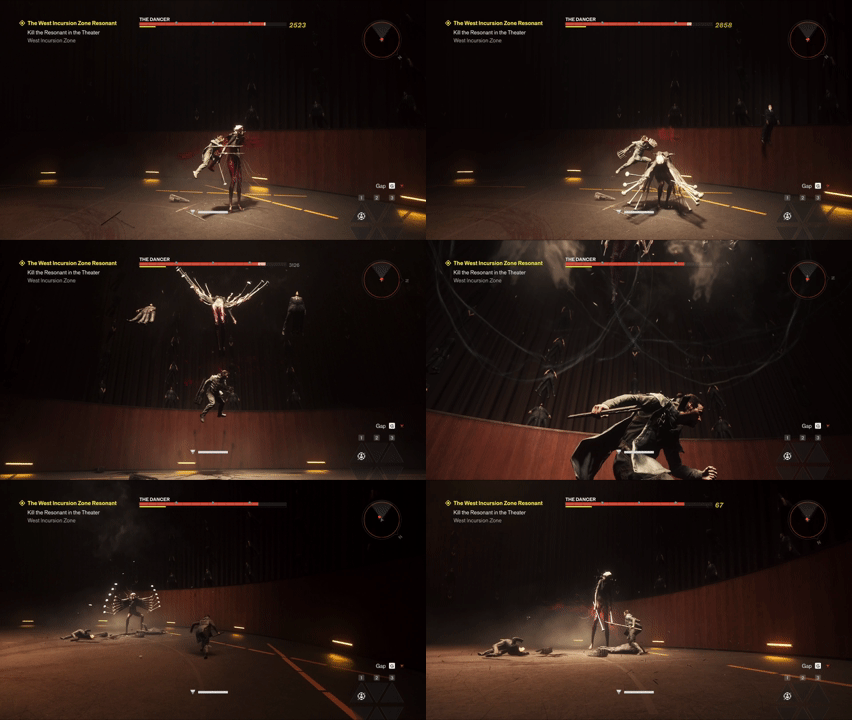
The Dancer will now levitate and launch two projectiles at the same time. This attack can be easily dodged while you’re on the ground. It’s harder to dodge when you’re levitating.
The Dancer Phase Two: Second Attack Pattern
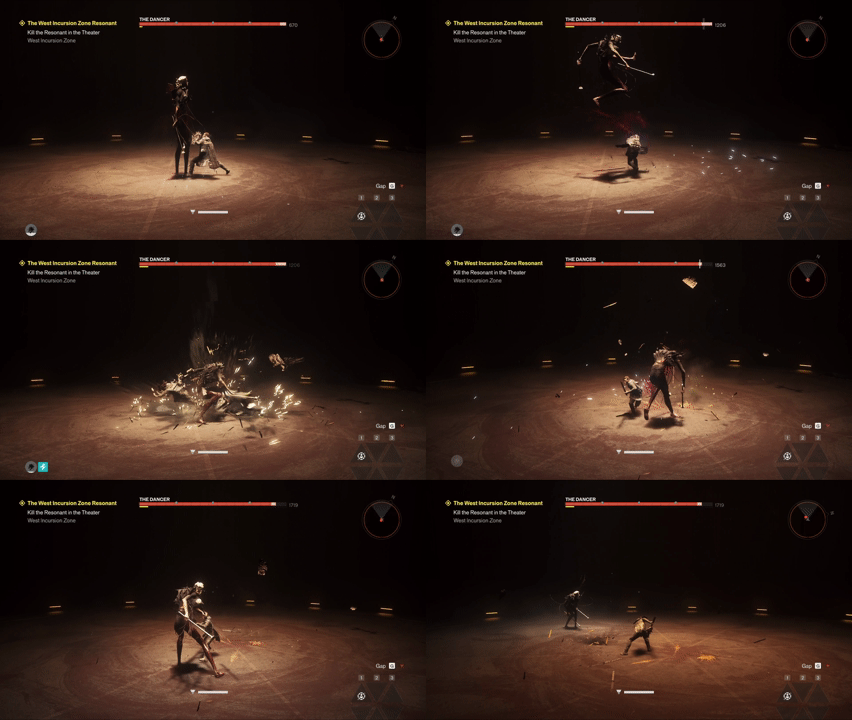
The Dancer will now leap and slam into the ground. While you can dodge the attack with Dash, it has a small area of effect. If you’re too close when it performs the slam attack, you may still take some damage.
The Dancer Phase Two: Third Attack Pattern
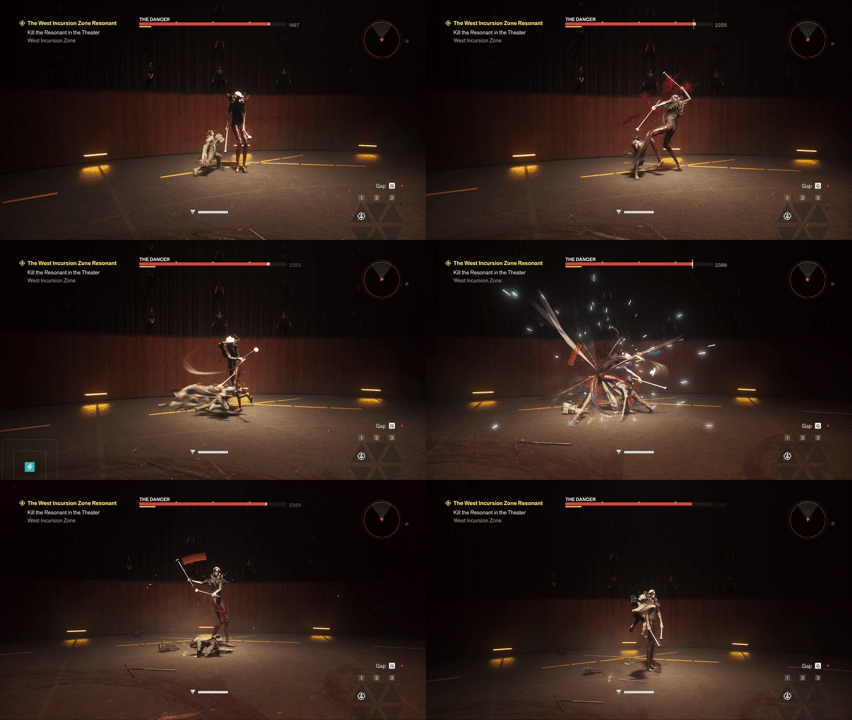
The Dancer will swing its weapons erratically twice, closing the distance to execute the second attack. Use Dash twice in quick succession to dodge both attacks.
The Dancer Phase Two: Fourth Attack Pattern
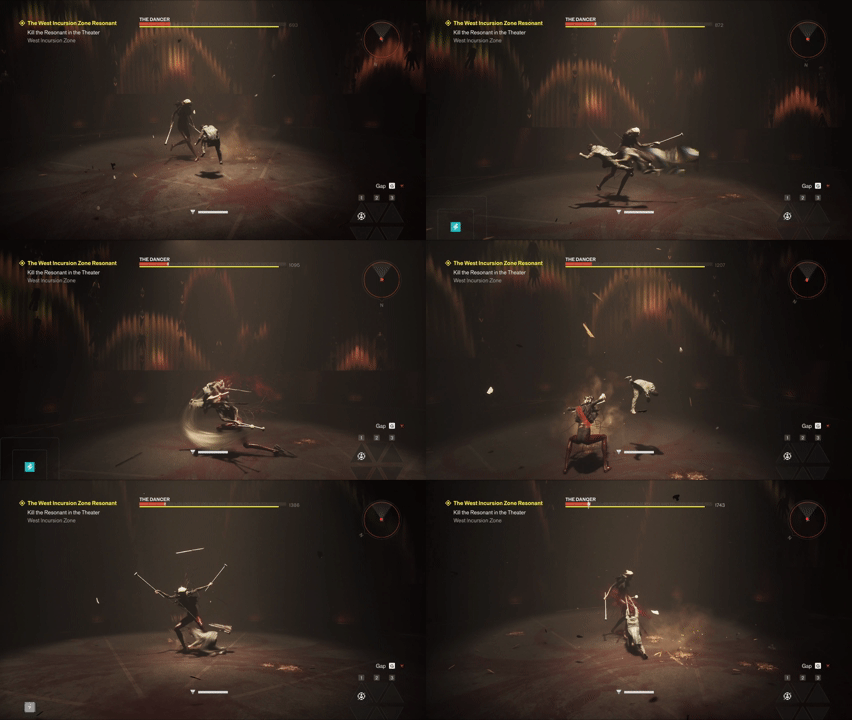
As you get closer to the second HP checkpoint, The Dancer will perform four melee attacks in a row. If you have the Shield ability, don’t bother using it, as it cannot block The Dancer’s attacks.
Continue attacking and dodging until the end of the fight.
New Combat Ability Reward: Push or Ground Slam
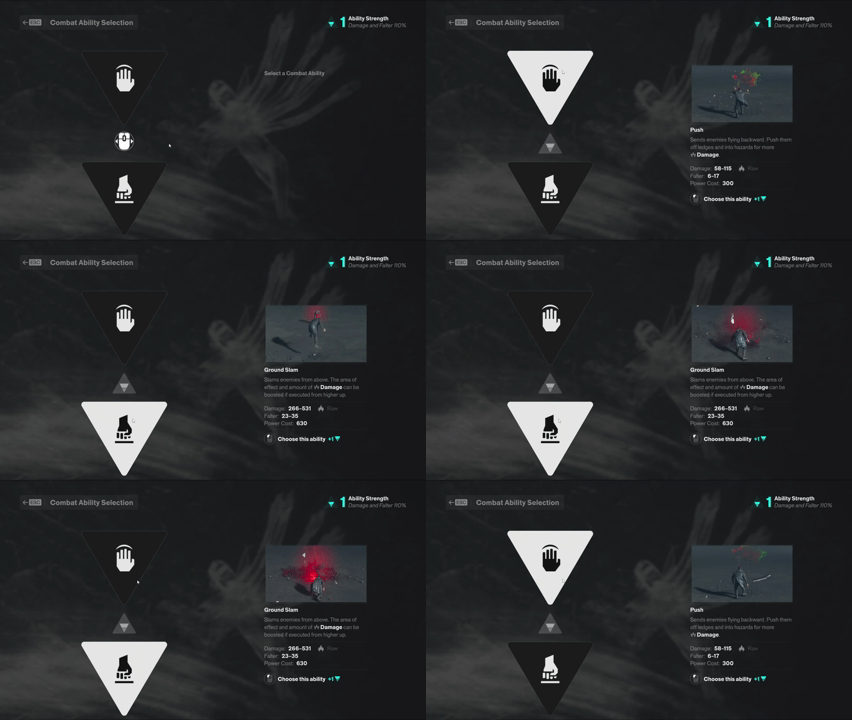
Once defeating The Dancer, you now have the option to choose a new ability: either Push or Ground Slam. We went with Push to help break up crowds. This will be handy when fighting bigger enemies that keep spawning grunt-level enemies as long as they’re alive.
More Control Resonant Guides
Looking for help with another boss? Check out our guide on how to beat The Artist in Control Resonant, including its attack patterns, abilities, and tips for completing the fight.