


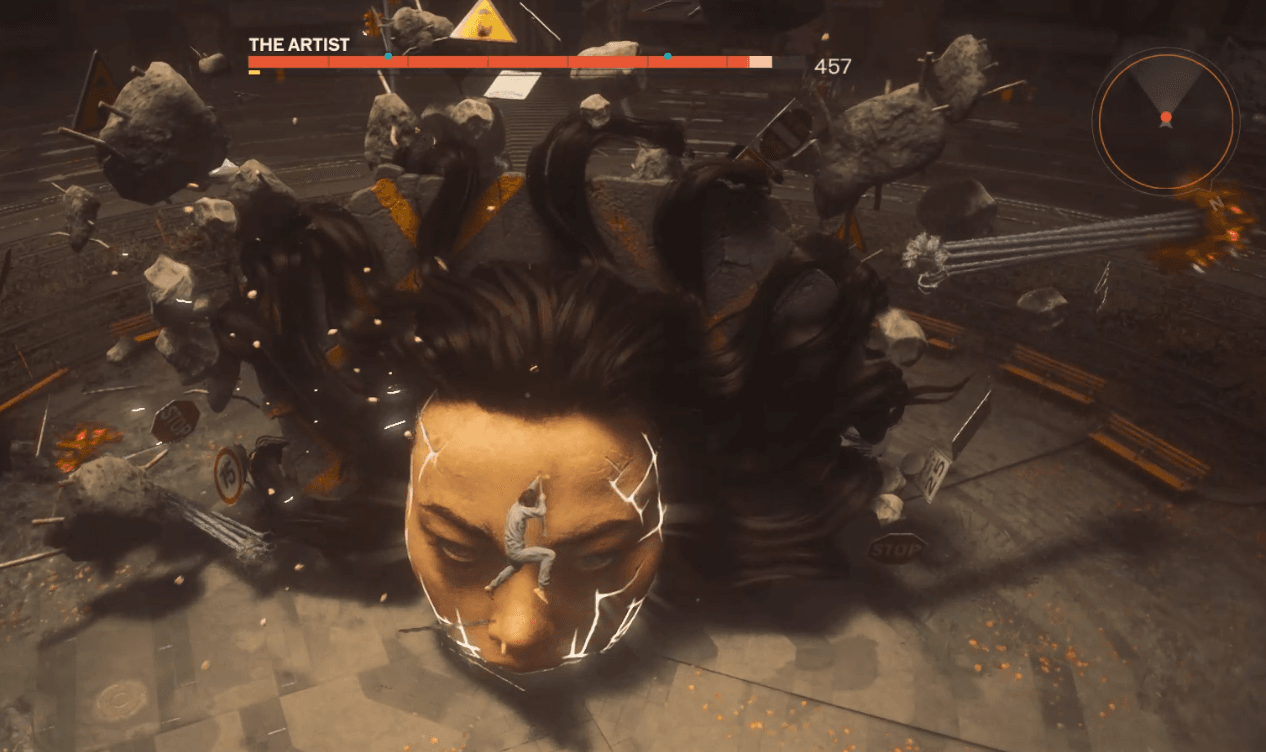

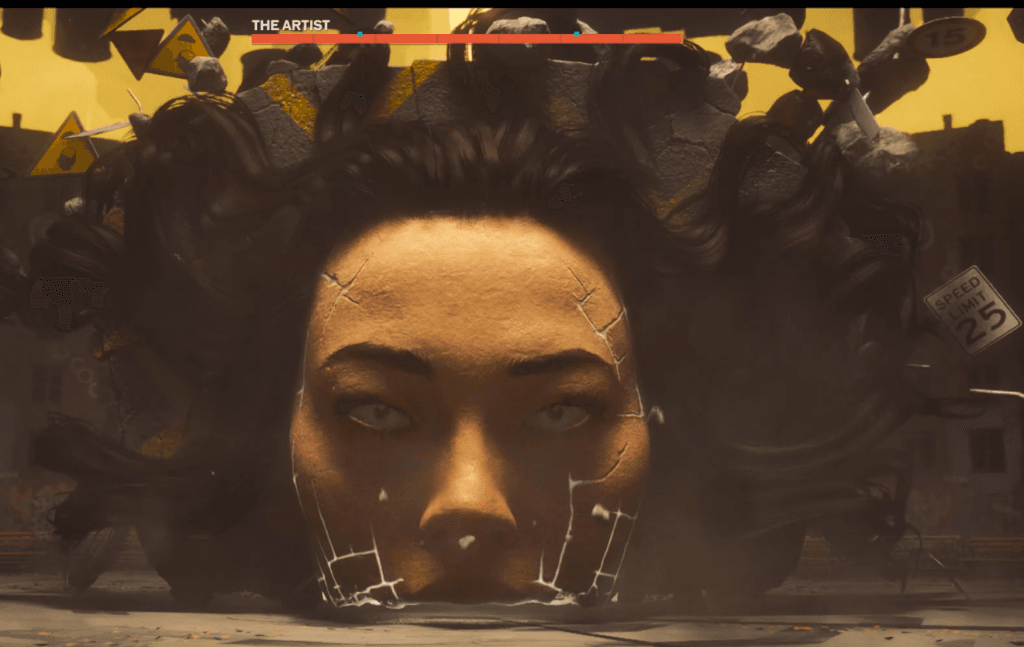
The Artist is the first boss you’ll encounter in Control Resonant, putting the skills you’ve learned during the opening section of the game to the test.
The Artist is relatively easy to take down once you learn its attack patterns. The key is to keep closing the distance, time your Dodges and attack whenever you’re within range.
To defeat The Artist, keep attacking while using Dodge to avoid its projectile and close-range attacks. During the second phase, use the floating platforms to get within striking distance and continue attacking.
Keep an eye on the blue points on The Artist’s HP bar. Reaching these points replenishes your HP, which can help keep you alive if you’re running low on health.
The Artist: Phase 1
The Artist has three main attack patterns during the first phase.
The best advice I can give is to keep closing the distance and deal as much damage as possible whenever you’re within range.
Taxi Projectile Attack
The Artist will launch taxis at you from a distance. Use Dodge as each projectile approaches and continue moving towards The Artist as you dodge. This helps you avoid the attack while closing the gap.
After launching two taxis, The Artist will usually switch to close-range combat by conjuring two massive rods.
Close-Range Attacks
The Artist has two close-range attack patterns.
The first is a forward smash. Dodge towards The Artist to avoid the attack while keeping yourself close enough to continue dealing damage.
The second is a sweeping attack that covers the space above and below you. You can avoid this by jumping once and using Levitate, then continuing your attack.
Don’t double jump before using Levitate here. In our experience, doing so puts you in the path of the sweep.
It’s important to keep attacking during this part of the fight because The Artist will try to create distance whenever it gets the opportunity.
Ground Projectile Attack
The Artist can also levitate a row of debris from the ground before firing it towards you.
Watch for the attack being prepared and time your Dodge as the projectiles approach. Once you’ve avoided them, continue closing the distance.
The Artist: Phase 2
During the second phase, The Artist levitates pieces of the road, creating platforms you can use to reach it.
Jump across the platforms until you’re within striking distance, then deal as much damage as possible before The Artist launches the platforms at you.
If you deal enough damage, The Artist will fall and the platforms will drop back to the ground.
If you don’t deal enough damage in time, The Artist will launch the platforms as massive projectiles. Once you’re back on the ground, focus on avoiding them. Using consecutive Dodges can help you get clear of the incoming platforms.
Then look for another opportunity to close the distance and continue attacking.
Tips for Beating The Artist


Use the HP checkpoints. Reaching the blue points indicated on The Artist’s HP bar replenishes your HP. If you’re running low on health but are close to the next blue point, dealing enough damage to reach it could keep you in the fight.
Use one jump before Levitate. During The Artist’s sweeping close-range attack, jump once and Levitate. Double jumping before using Levitate can put you in the path of the attack.
Keep closing the distance. The Artist frequently tries to create space between you. Staying close lets you keep dealing damage and encourages it to use its close-range attacks.
Don’t stop attacking unnecessarily. The fight rewards aggression. Once you’ve learned when to Dodge, you can use those openings to stay on The Artist rather than constantly retreating.
Watch The Artist Boss Fight
Want to see the strategy in action? Watch our full fight against The Artist below to see how we use Dodge, Levitate and aggressive positioning to defeat the boss.

What Happens After Defeating The Artist?
After defeating The Artist, you’ll be presented with three Combat Abilities to choose from: Barrage, Volatile Anomaly and Shield.
Barrage: Sends multiple projectiles towards a target.
Volatile Anomaly: Summons an ally that can be thrown and detonated, with its explosion becoming stronger at low health.
Shield: Absorbs incoming damage. Dodging while Shield is active performs a Shield Bash.
Which ability you choose will largely depend on your playstyle.
Players looking for another offensive option may prefer Barrage, particularly for dealing with flying or ranged enemies. Volatile Anomaly provides a different approach, allowing you to summon an ally and use its explosion strategically against groups of enemies.
We chose Shield. Its protection is tied to your remaining Power, while using Dodge with Shield active triggers Shield Bash, which deals damage and can Falter enemies.
Can you change your ability choice after The Artist?
Yes. Your choice between Barrage, Volatile Anomaly and Shield isn’t permanent. While you’re still in the Gap, you can change your selection before leaving. Later, you can use a Reset Item in the Gap to reset your Combat Abilities and choose again.