The Deserter is the Resonant found beneath the Patterned Factory in Central. Reaching the boss takes considerably more work than the fight itself, as you’ll need to make your way through the factory and destroy three heat growths before the furnace room becomes accessible.
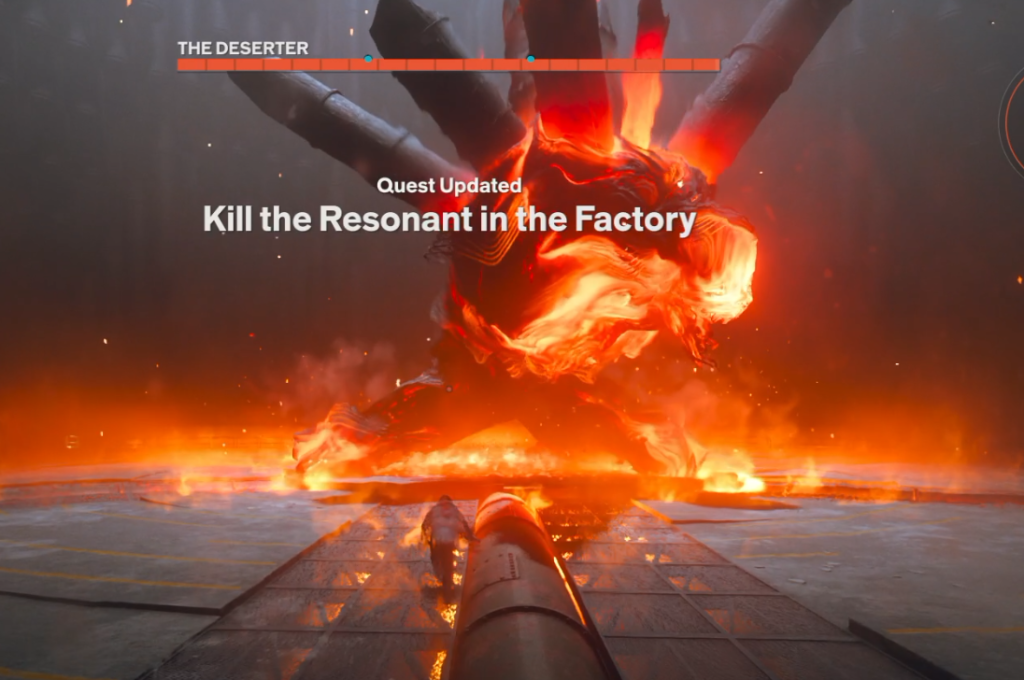
The Deserter itself is relatively slow and predictable, but its fire attacks can turn much of the arena into a hazard. Later in the fight, it can also heal itself unless you quickly destroy the sacs that appear around the arena.
How to Reach The Deserter
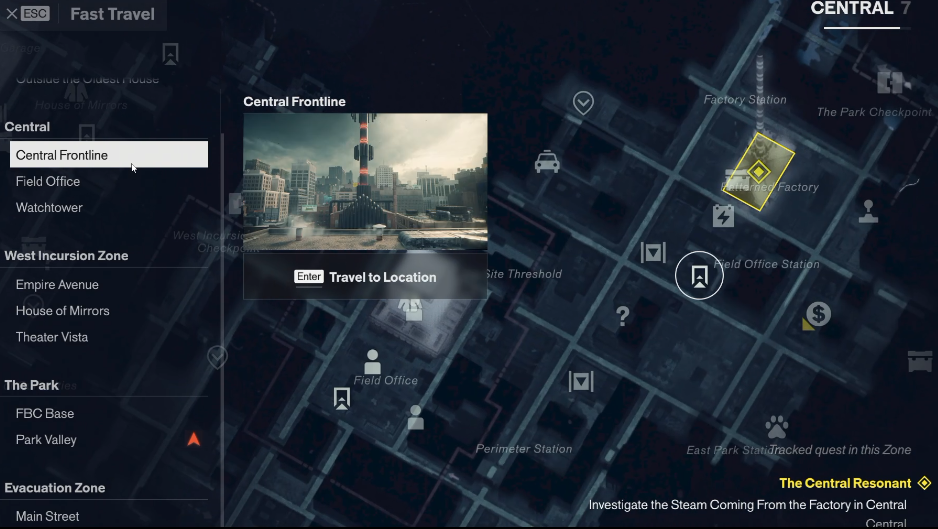
To face The Deserter, start The Central Resonant quest and track the Investigate the Steam Coming From the Factory in Central objective. Look for the Patterned Factory, the building covered in pipes. The closest fast travel point is the Central Frontline point.
If the quest isn’t already active, inspect the patterned pipes outside the factory to trigger it.
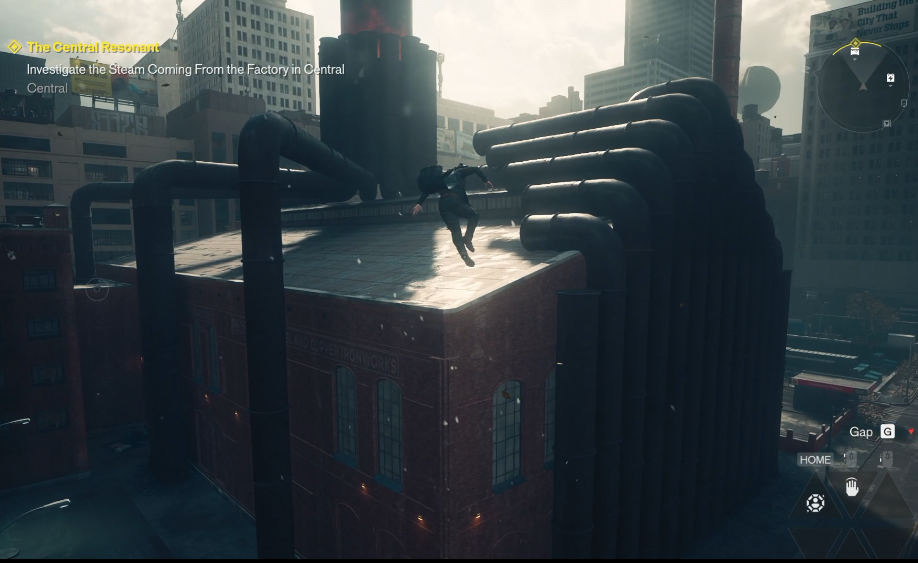
The factory can be entered through the rooftop, which is the route covered in this guide.
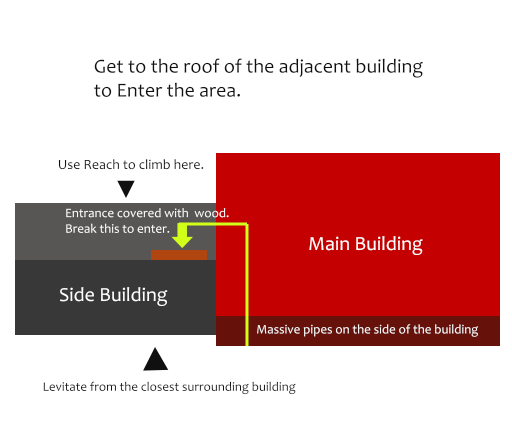
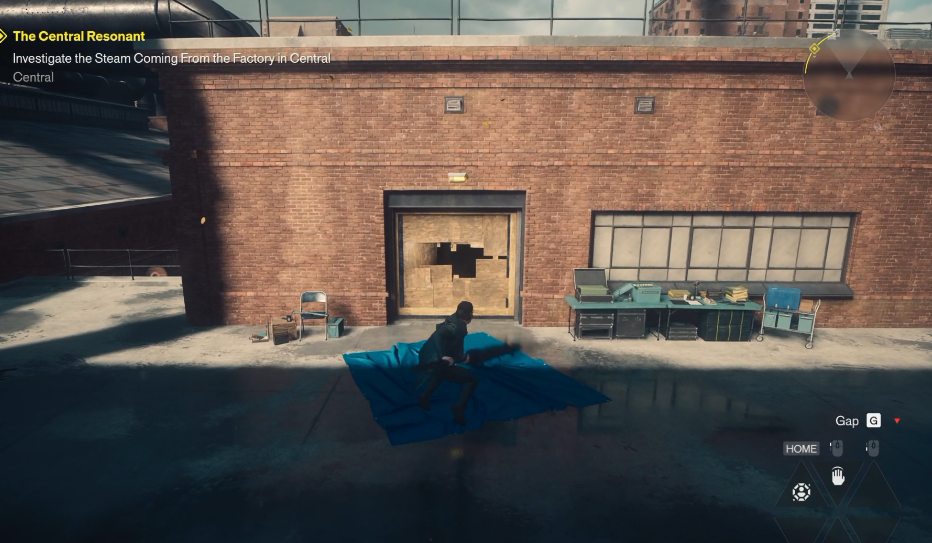
Make your way onto the adjacent rooftop and cross over towards the top of the factory. Look for the boarded-up entrance shown below, break through the wooden barrier and head downstairs.
Refer to the diagram below for the route in. On top of the adjacent rooftop, you’ll find an entryway blocked by wooden boards. Break through them and head downstairs.
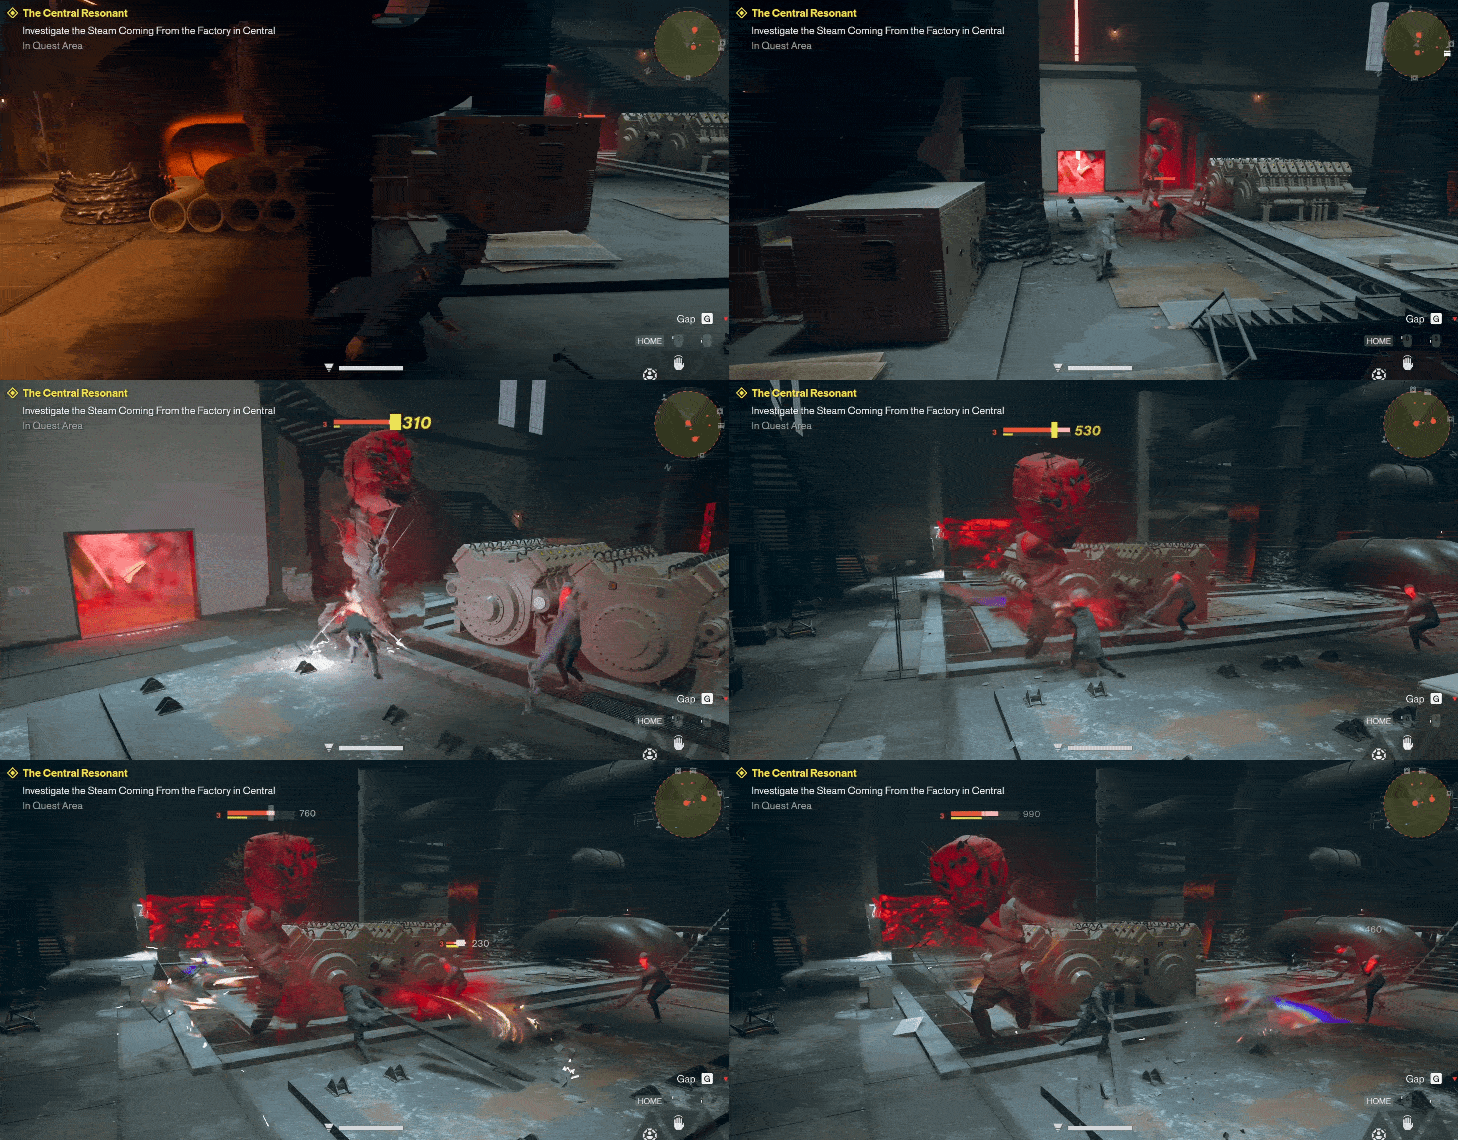
Head towards the main factory floor through the door on the ground floor. You’ll need to fight several waves of enemies consisting of both regular and stronger Hiss variants.
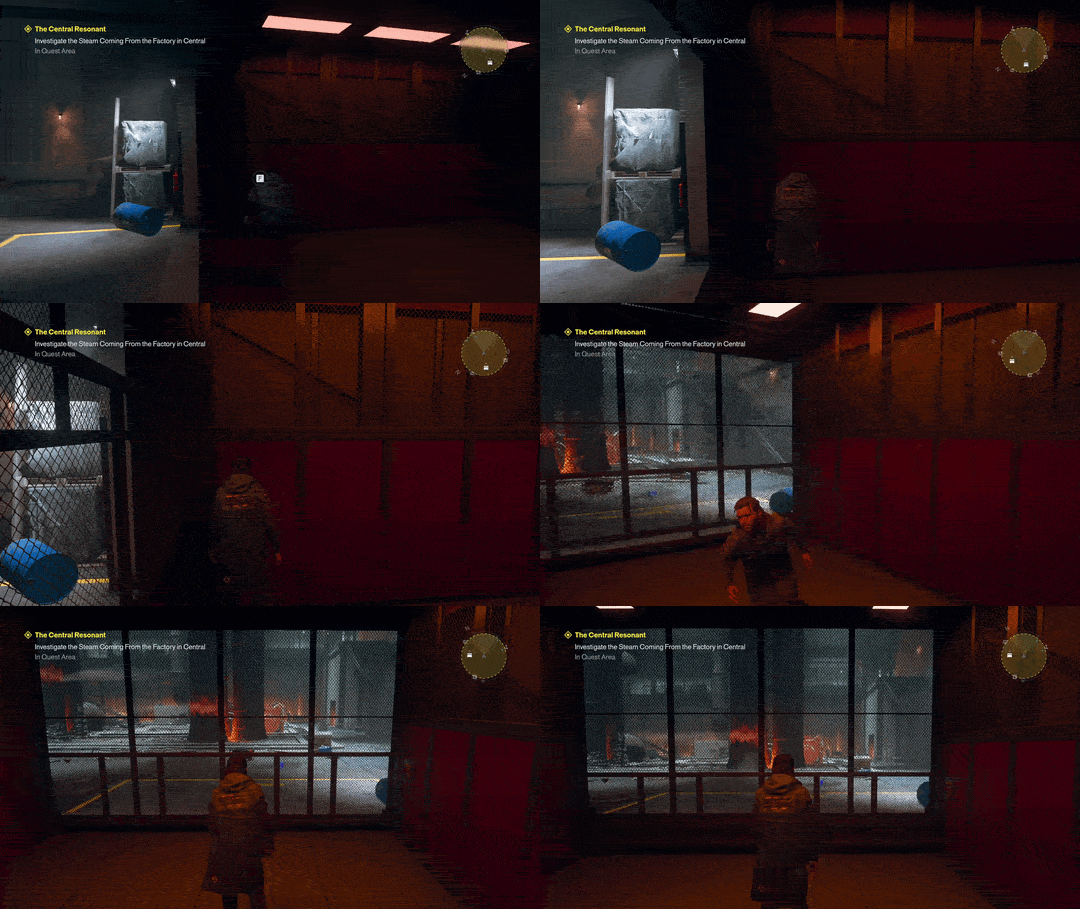
Once the area is clear, use the elevator on the ground floor to head deeper into the factory.
How to Destroy the Three Heat Growths
Before you can enter The Deserter’s boss arena, you’ll need to destroy three heat growths throughout the underground factory. Destroying them shuts down the extreme heat blocking the route to the furnace room.
Once you reach the top of the stairs, turn around. You should immediately see the first red heat growth.
The remaining two are found through the openings on the left and right. These openings are illuminated by yellow light and labelled 2 and 3 in the image below.
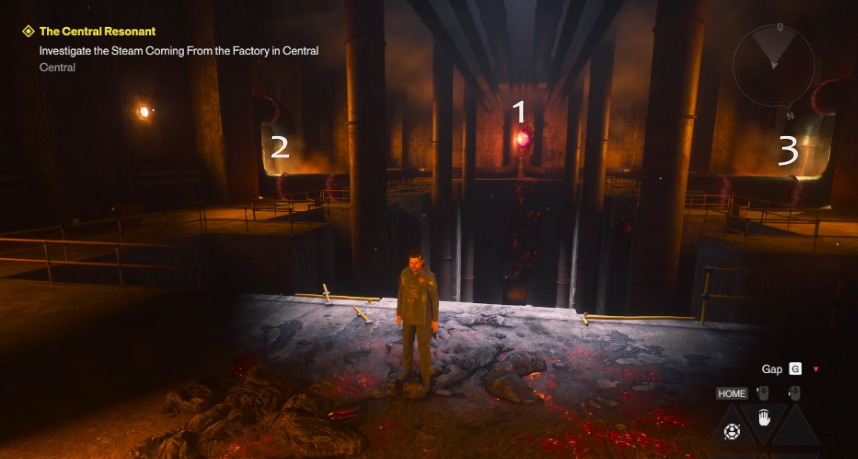
Head to the far end of the room and destroy the first heat growth.
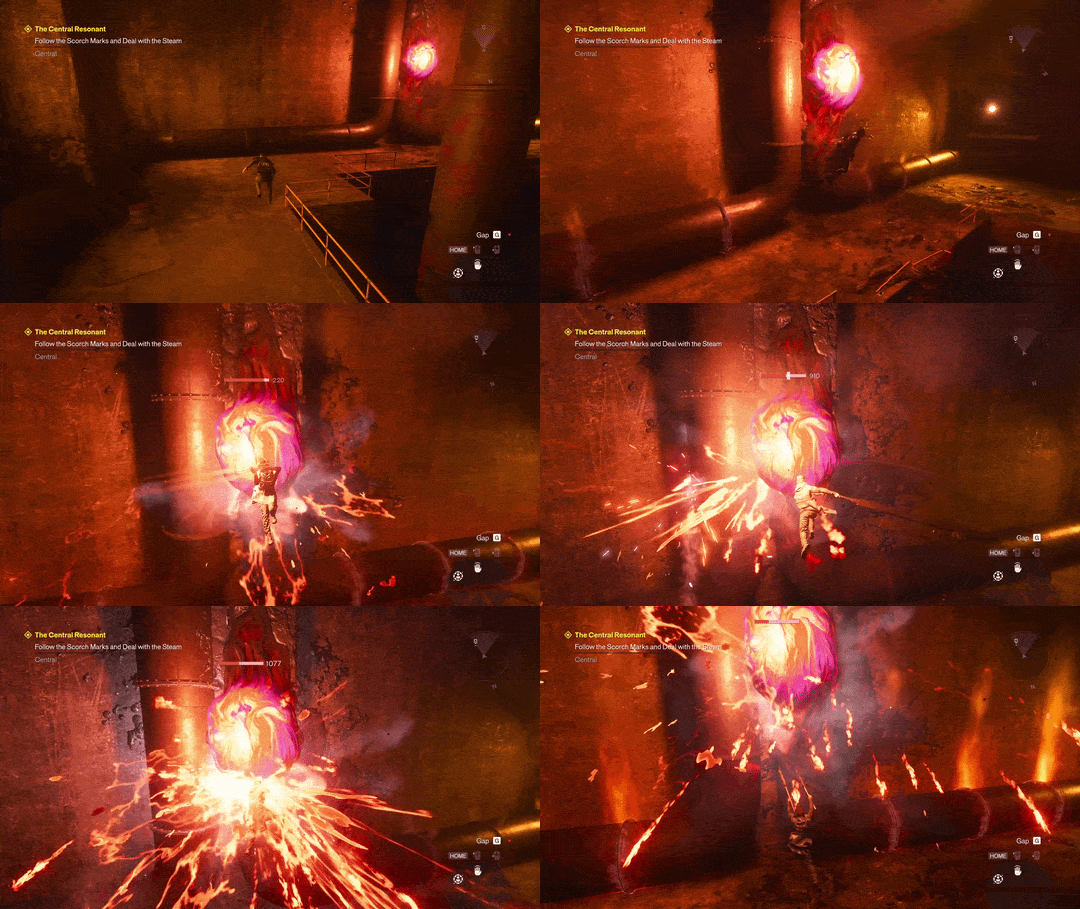
After destroying it, head towards the opening labelled 2.
You’ll enter a winding pathway leading into a series of smaller chambers where you’ll encounter more Hiss enemies. Watch out for the bursts of flame along the way, as they can deal significant damage. Wait for the flames to stop before moving past them.
Take a left from the save point. There’s also a loot box on the right if you want to grab it first.
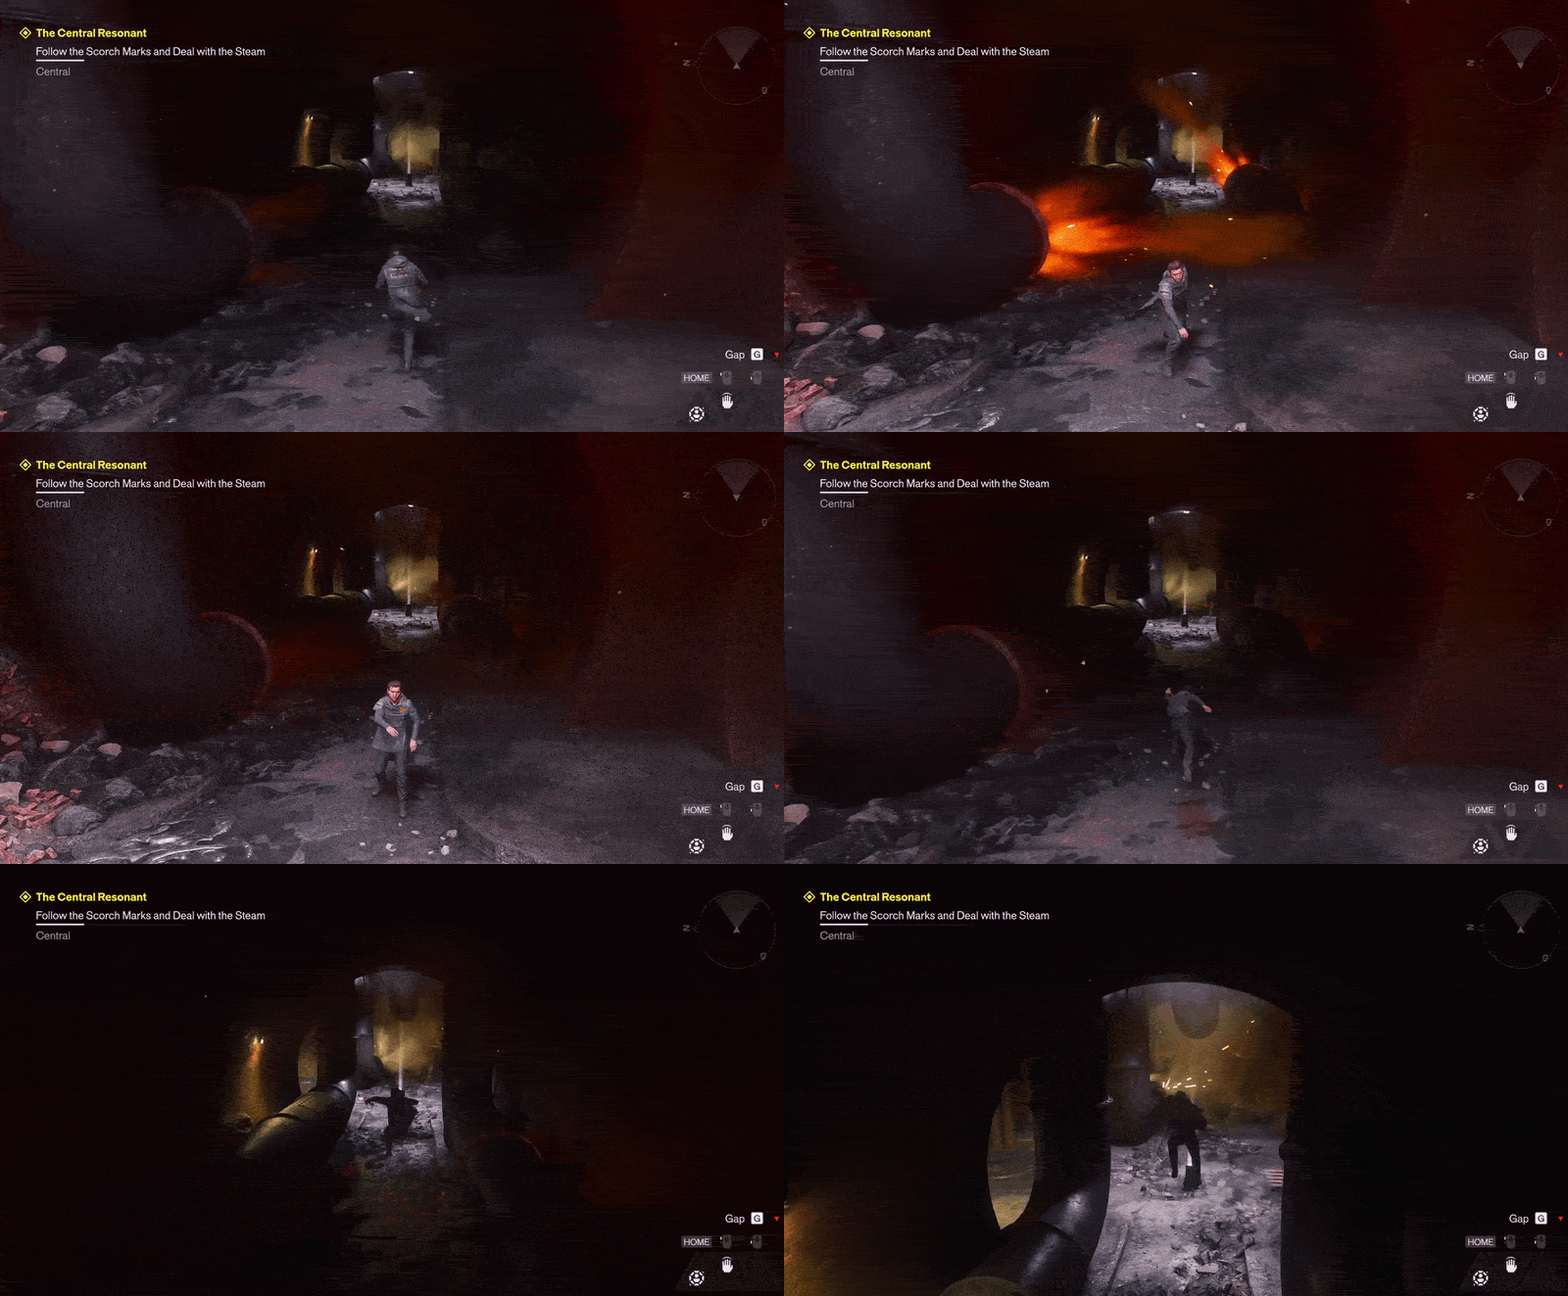
You’ll eventually reach another chamber with two possible routes. Take the path to the right.
You’ll immediately see several Hiss enemies wandering around the area. Clear them out, climb up and continue into the tunnel.
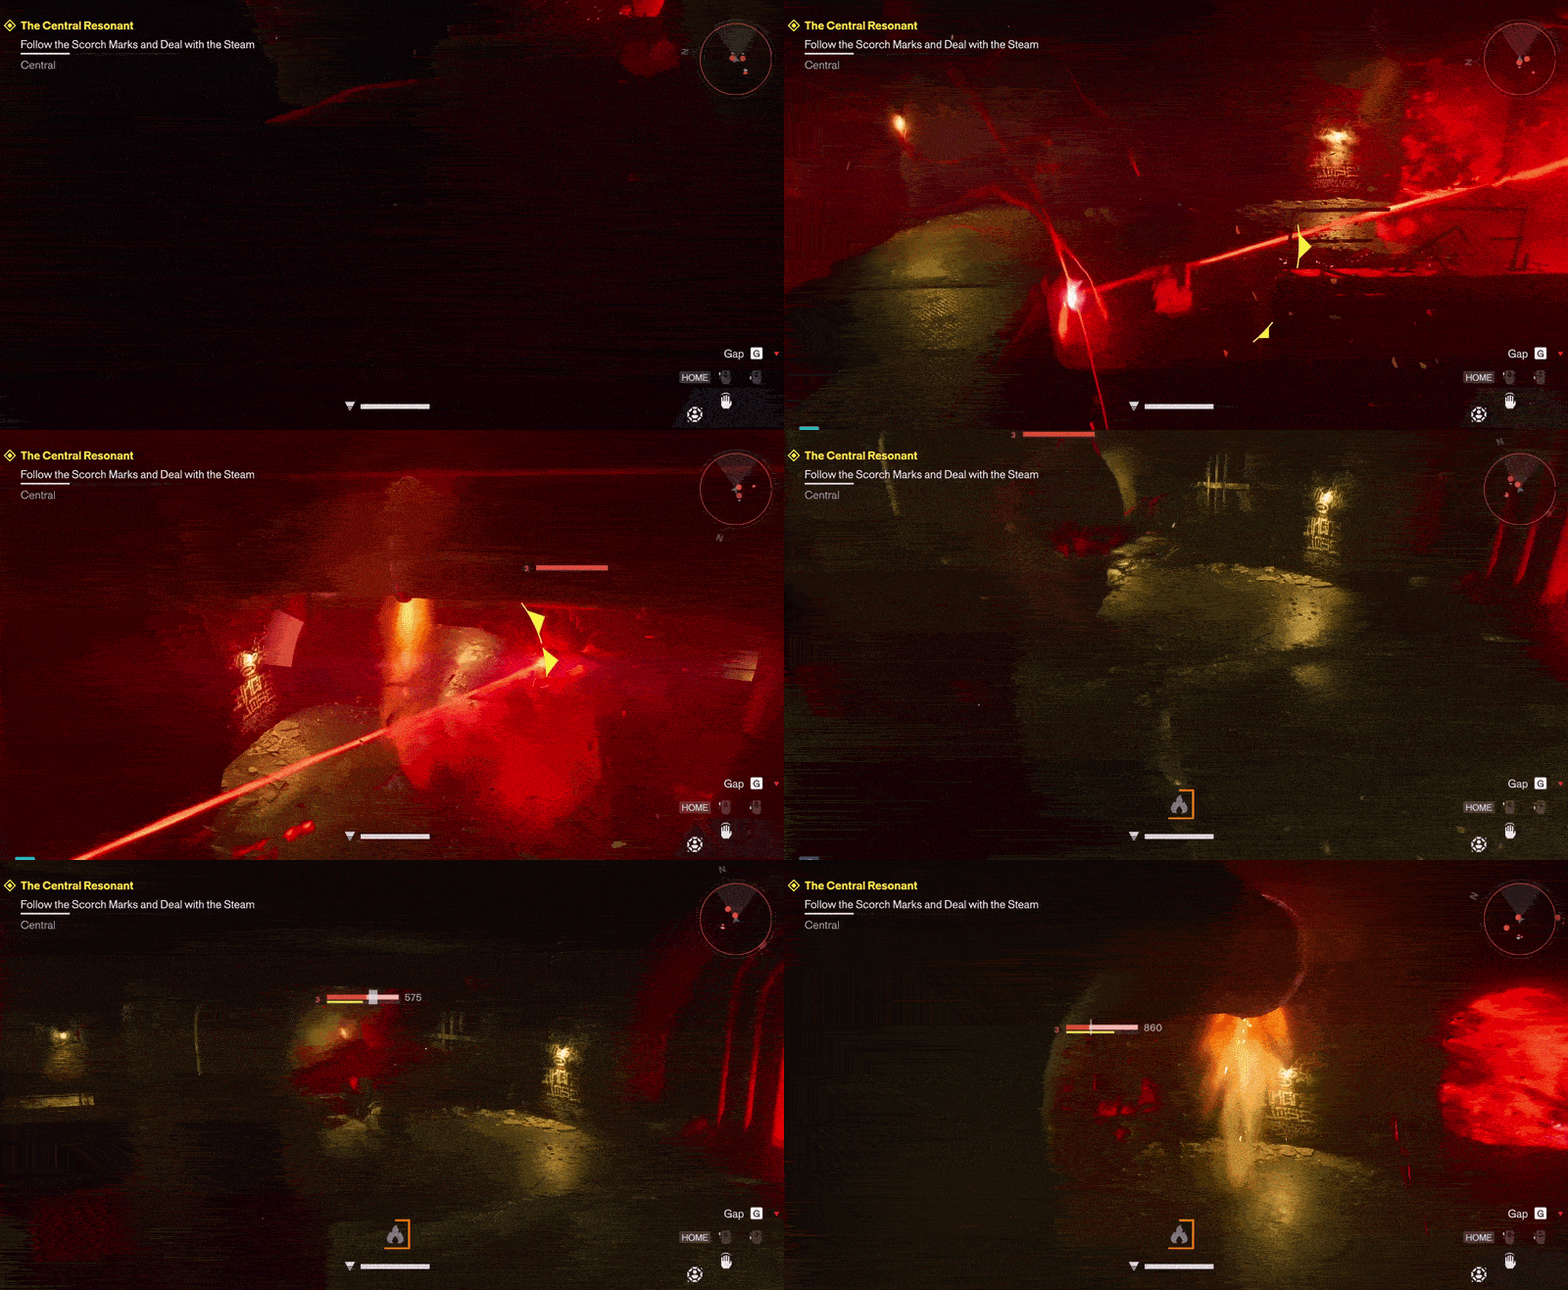
Take a right and activate the save point, then continue straight ahead. You’ll enter another chamber containing a new wave of Hiss enemies.
Once the room is clear, Levitate up one level to find the second heat growth. Destroy it and continue towards the next area.
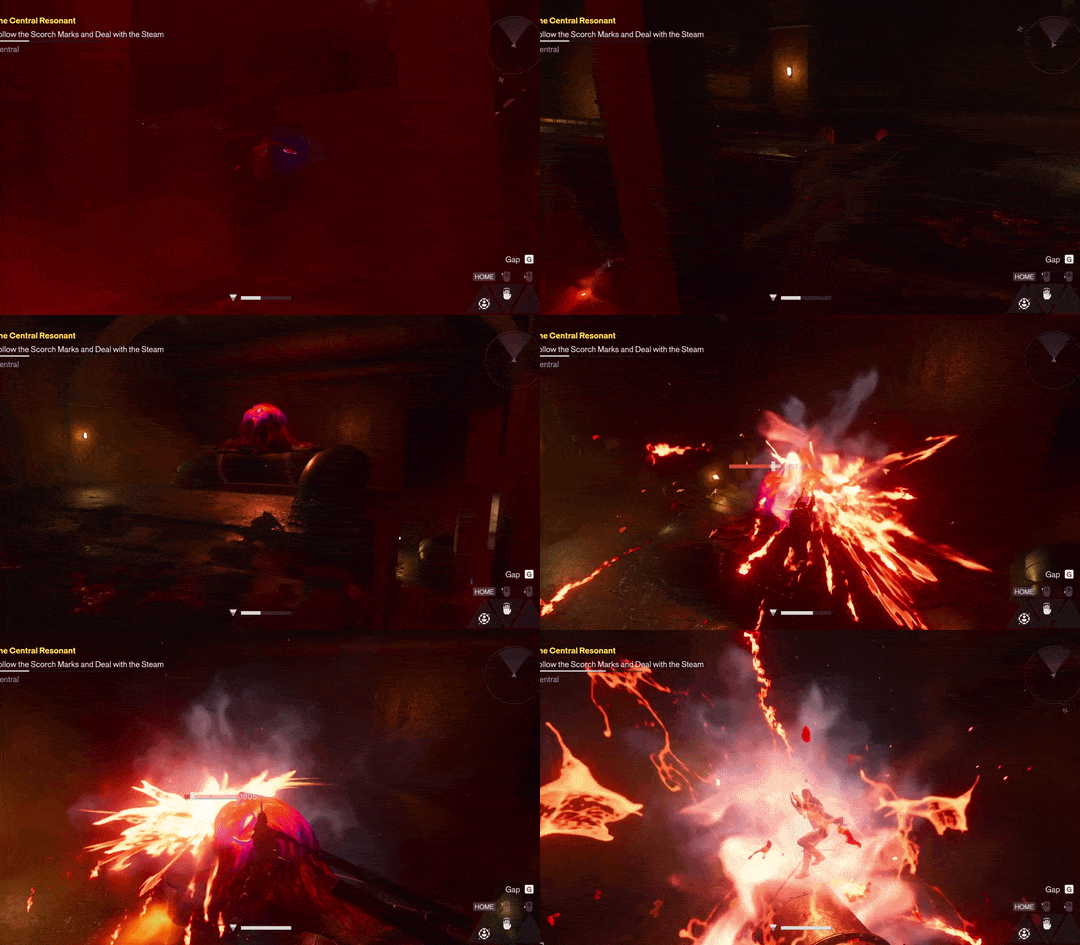
Take the tunnel on the ground floor that was previously blocked by continuous steam. This will take you back towards the location of the first save point.
Return to the main chamber and enter the opening labelled 3.
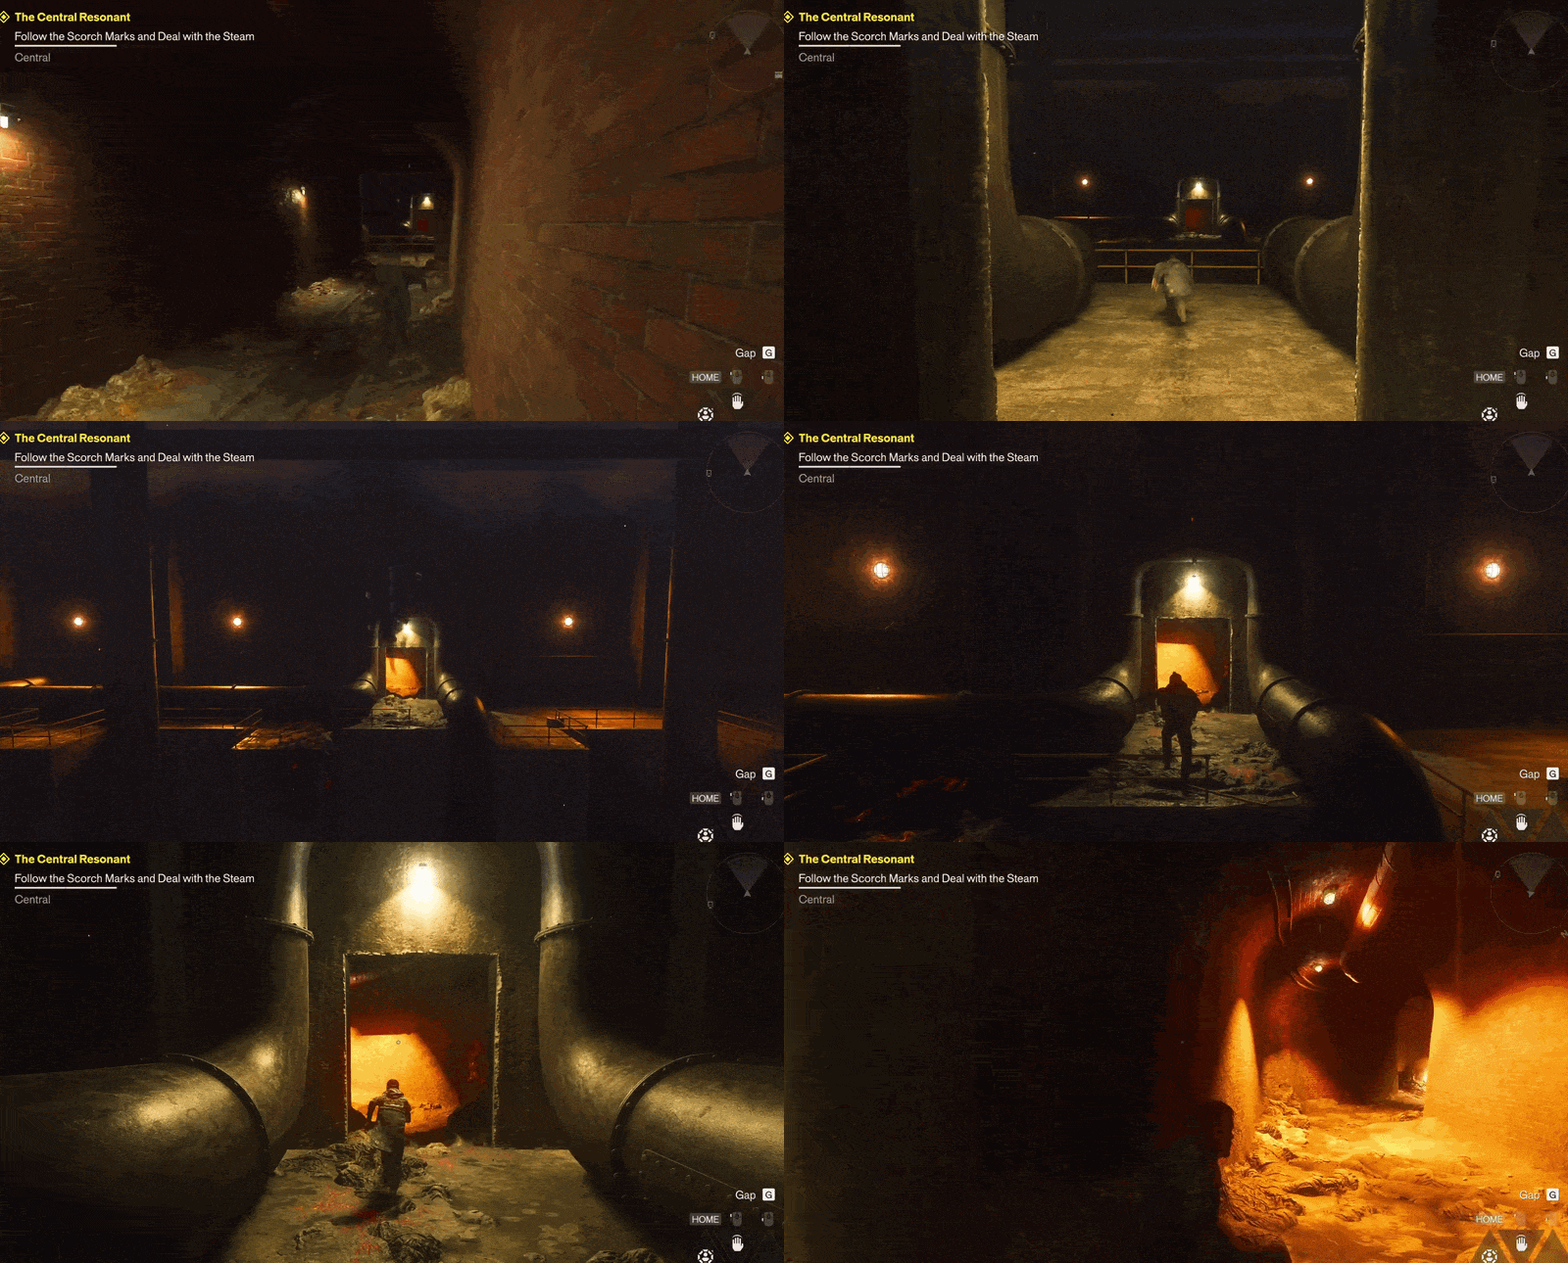
Follow the pathway past the save point. At the T-junction, you’ll notice that the path to the right is blocked by continuous steam.
Take the path to the left instead and time your movement between the bursts of steam.
You’ll eventually reach an empty room. Levitate to the second floor, take the stairs and continue along the path. You’ll find another save point and a loot box along the way.
Enter the tunnel on the right, where you’ll encounter another group of enemies.
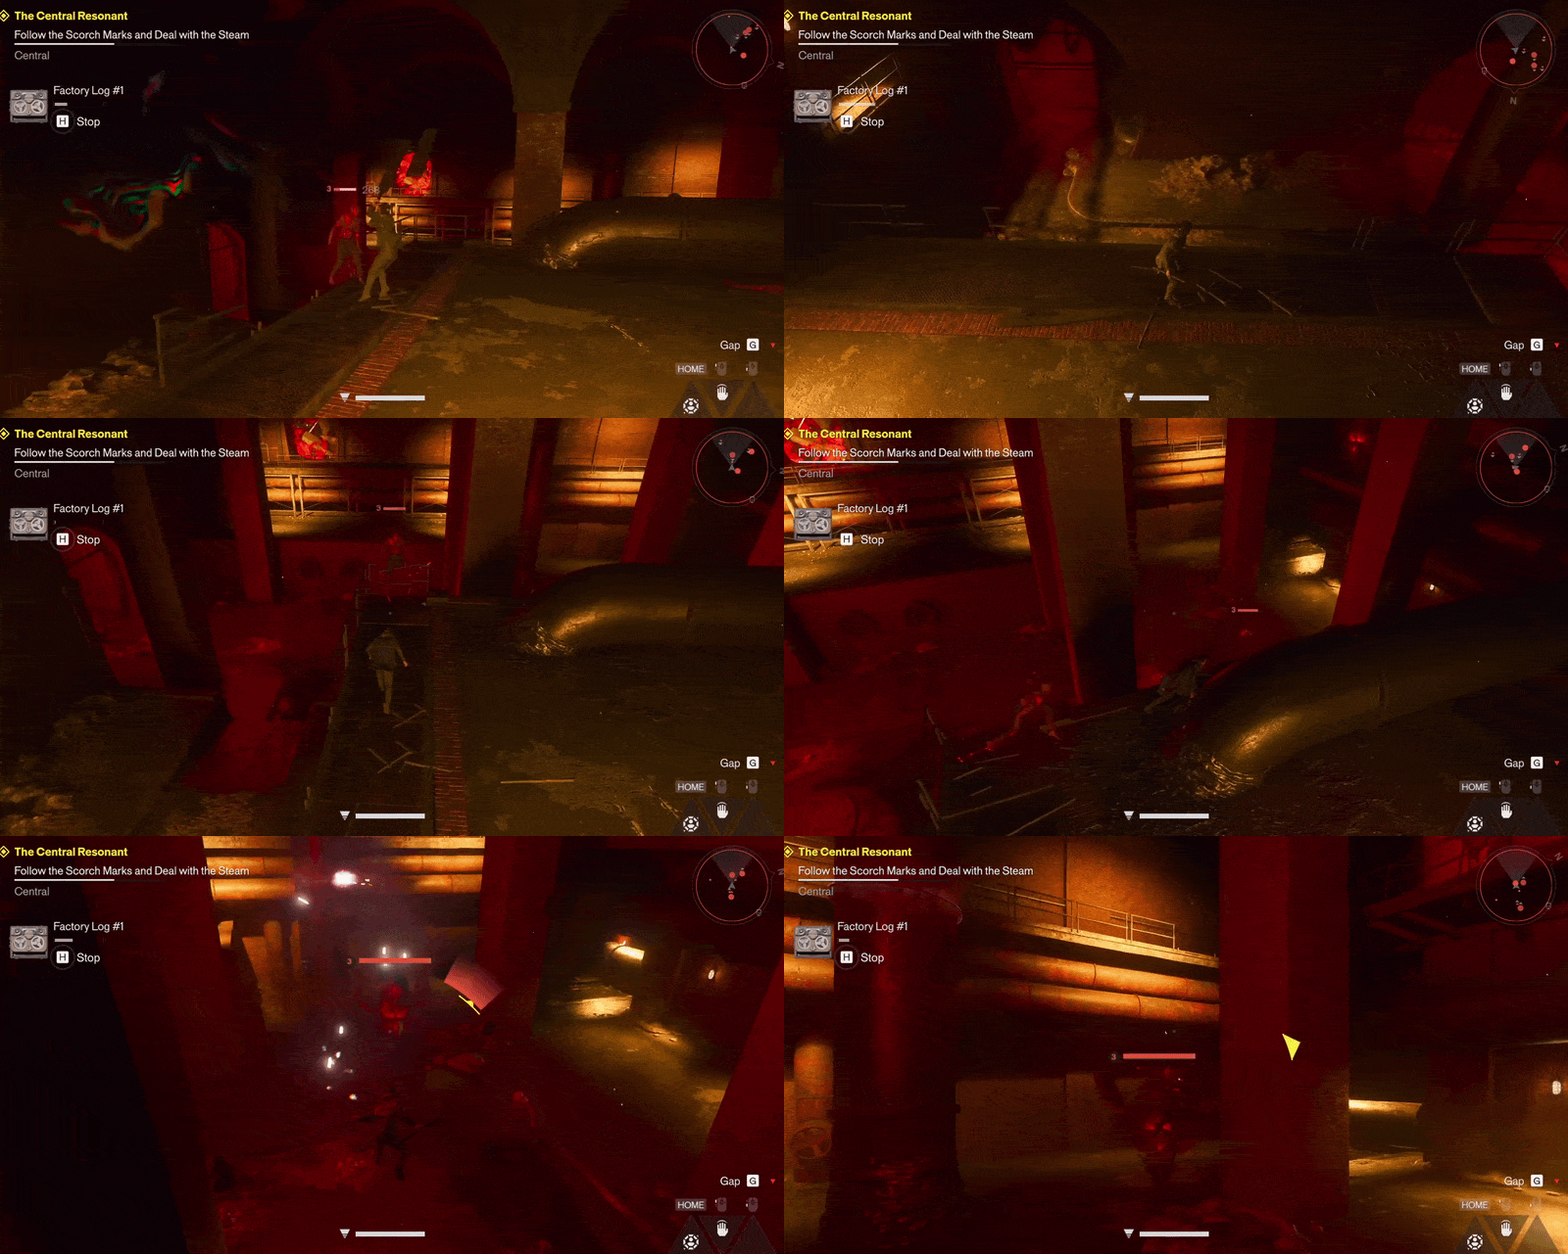
The most dangerous enemy here is the Hiss Distorted, the screaming Hiss enemy. If you’re having trouble dealing with its scream attack, use Shield to protect yourself until the attack ends.
Once the room is clear, continue upwards and enter the tunnel. You’ll reach another checkpoint before turning right into a large chamber.
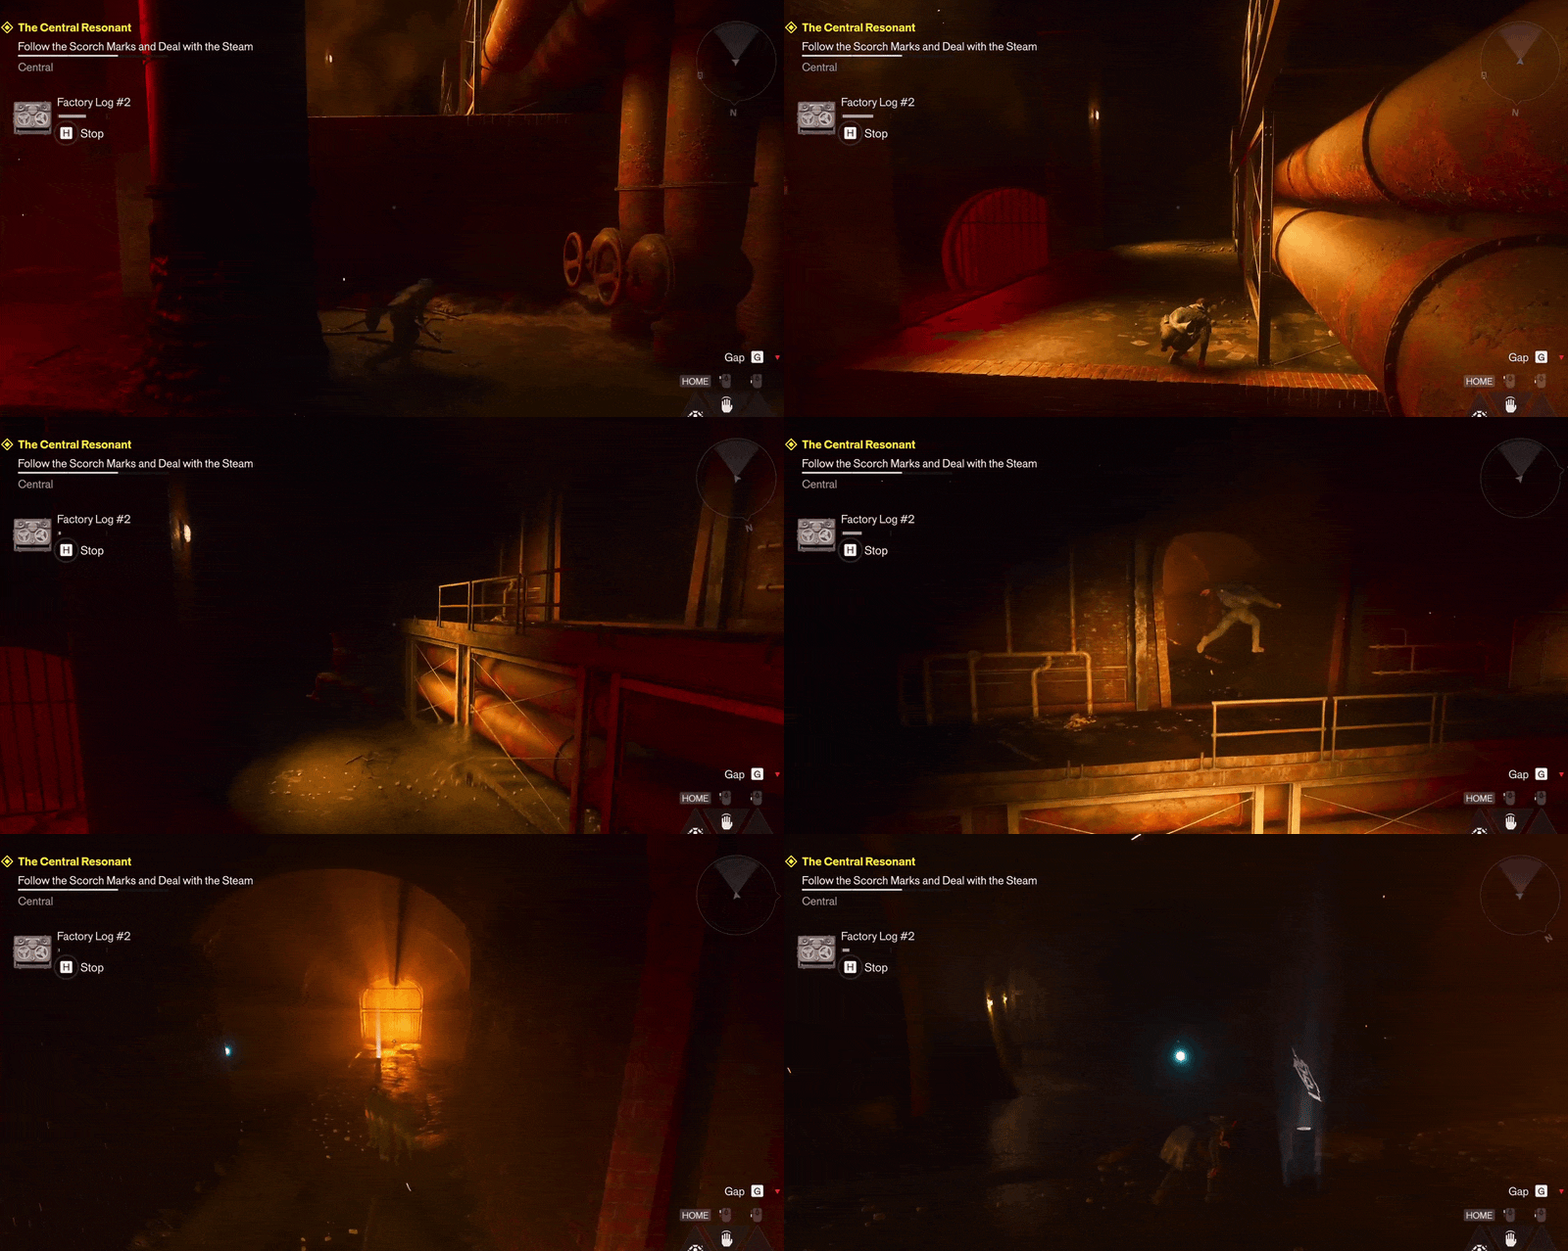
Here, you’ll face another large group of Hiss enemies. This is the final major encounter before you can finish opening the route to The Deserter.
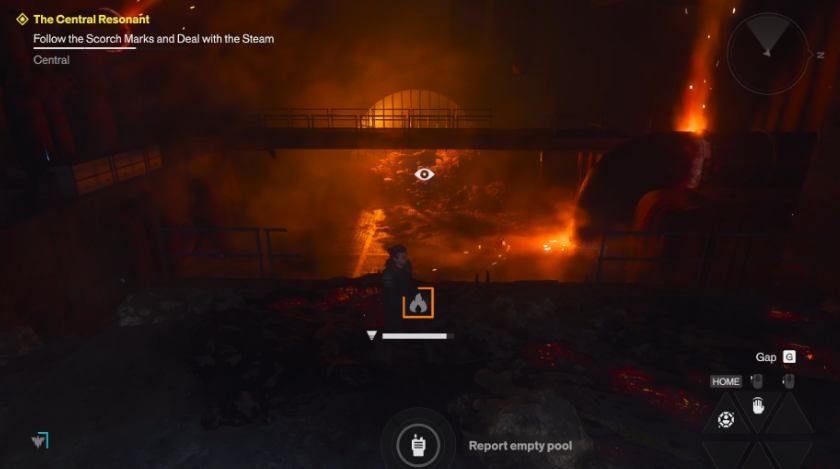
After clearing the room, you’ll come across an empty pool with an interaction prompt. Go through the dialogue with Zoe, then head towards the final heat growth located inside a small tunnel opening on the right side of the pool.
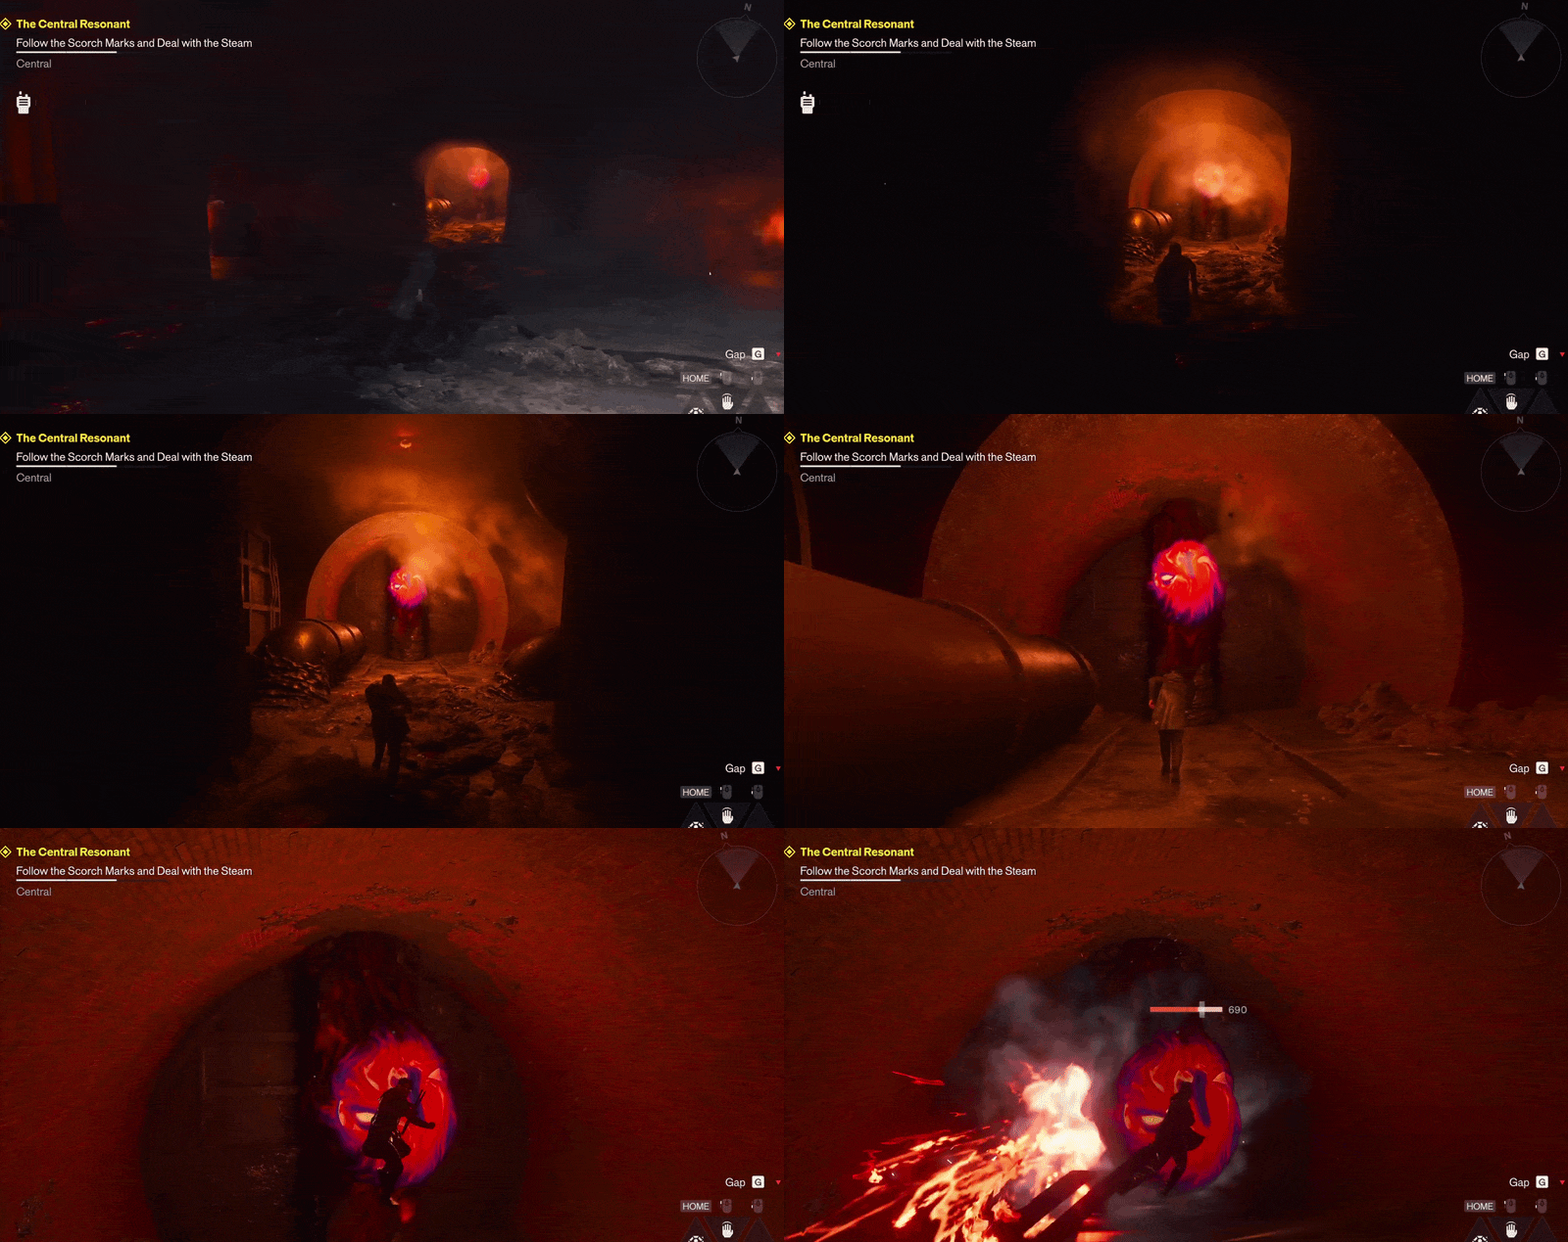
Destroy the final heat growth.
Once that’s done, take the tunnel to the right and make your way back towards the main area. You can now return to the furnace room, which was previously inaccessible because of the continuous fire and steam.
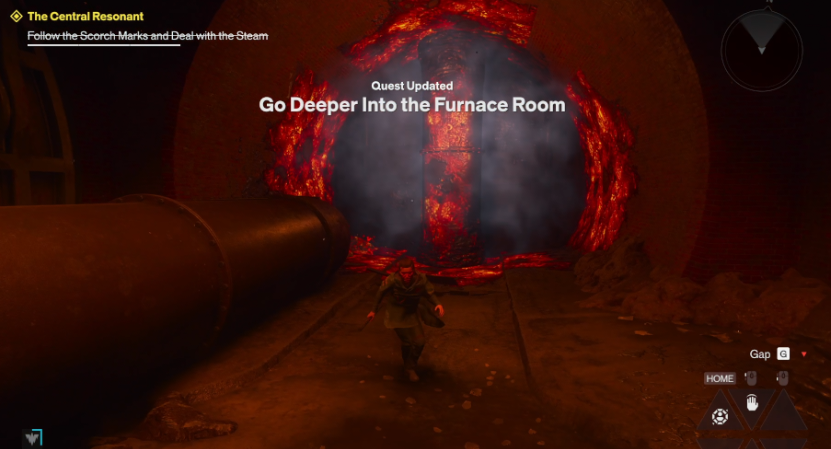
How to Beat The Deserter
Despite its appearance, The Deserter is one of the more predictable Resonants to fight. Its movements are relatively slow and its major attacks are heavily telegraphed.
The main challenge comes from its fire attacks and the hazardous arena rather than its speed.
Opening Phase
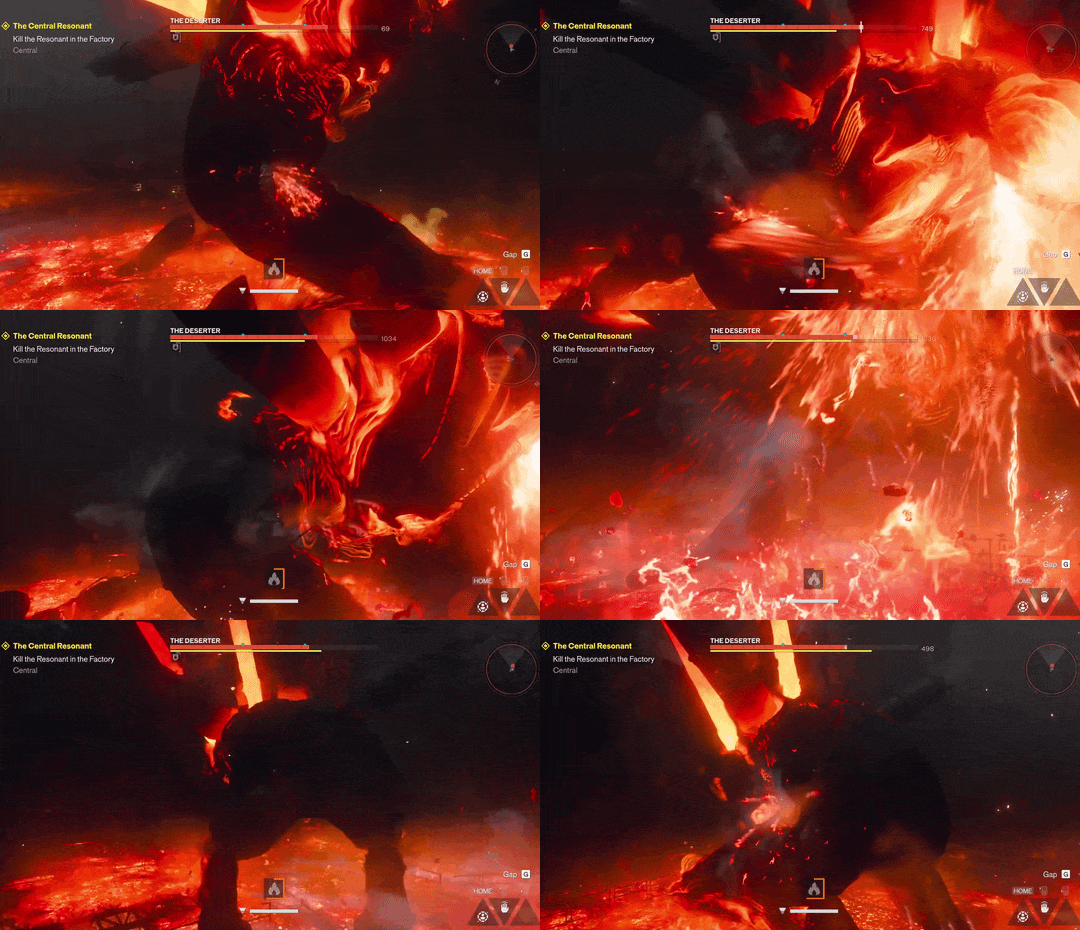
One of The Deserter’s main attacks is a stream of lava that tracks Dylan’s movement.
Move laterally or Levitate around the boss rather than retreating directly backwards. Keep repositioning yourself so you can continously attack it without getting hurt.
The Deserter can also perform a body slam that may expose a purple weak point, giving you another opportunity to deal damage. However, you don’t need to rely on this opening to defeat the boss. If you’re already comfortable staying mobile and attacking from behind, you can continue using that strategy instead.
Be careful of the burning patches left around the arena, as touching them will continue to damage you. Reset your Levitate when it runs out.
Continue attacking during these openings and reposition whenever The Deserter begins another attack.
Stop The Deserter From Healing
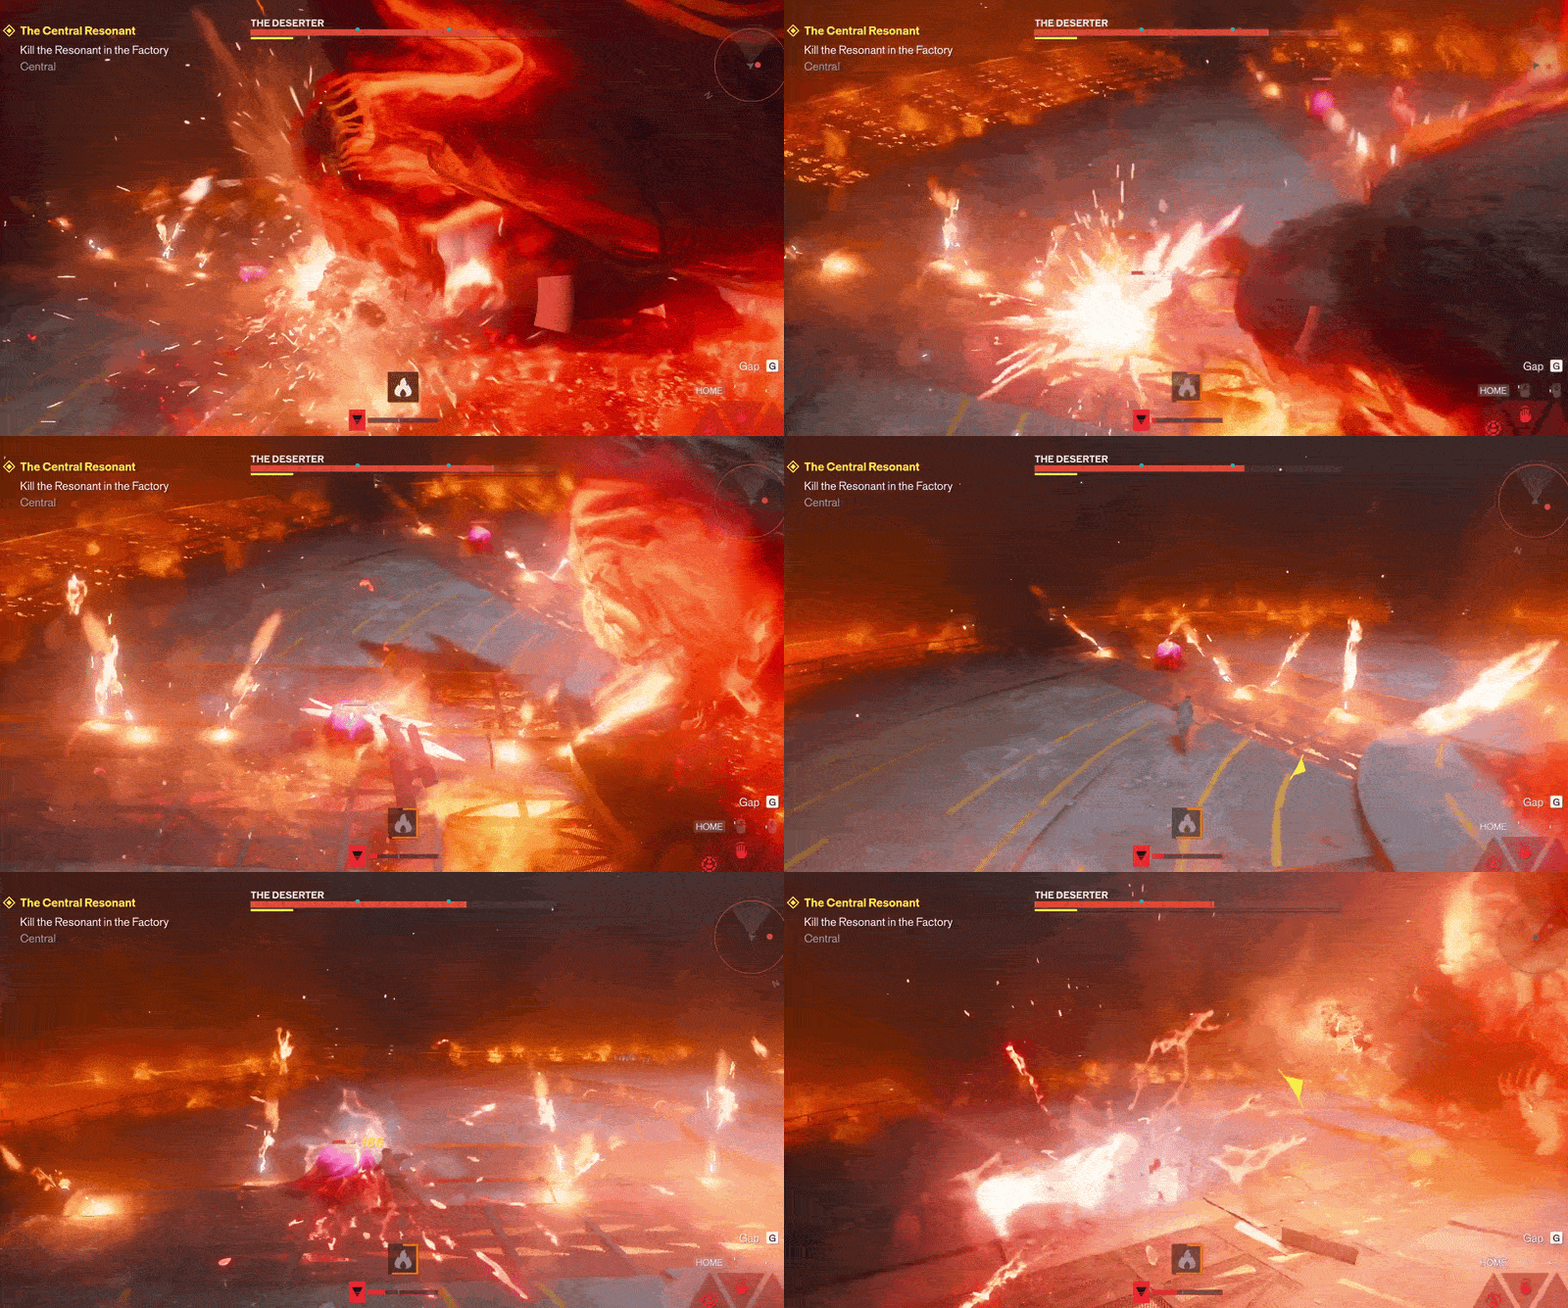
Later in the fight, The Deserter becomes considerably more dangerous.
It gains additional fire attacks and more of the arena becomes hazardous. It can fire more accurate projectiles, create additional fire and steam hazards, and use close-range attacks if you stay near it for too long.
More importantly, four healing sacs will appear around the arena.
Destroy these immediately.
As long as the sacs remain active, The Deserter will recover health. Continuing to attack the boss while they’re active will only prolong the fight.
Prioritise finding and destroying all four sacs before turning your attention back to The Deserter.
Once they’re gone, return to the strategy from the opening phase. Stay mobile, move behind the boss after its attacks and punish its recovery windows.
Keep repeating this until The Deserter is defeated.
Once the fight ends, follow the interaction prompt to complete the encounter and receive your new fire ability.
New Fire-Type Abilities
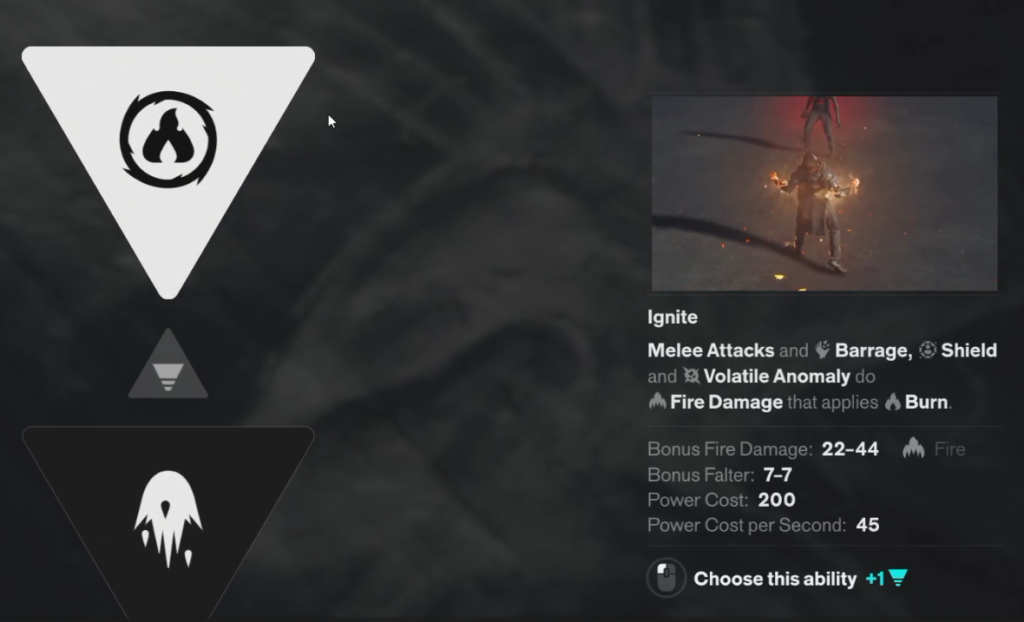
Defeating The Deserter allows you to choose between two new fire-based abilities:
Ignite – Imbues your melee attacks, Barrage, Shield and Volatile Anomaly with fire, applying Burn.
Inferno – Unleashes waves of fire directly at enemies.
Both abilities give Dylan access to Burn and are particularly effective against Mold enemies.
This makes them especially useful when taking on The Collective, the Mold-based Resonant found in The Park. If you’re struggling with defeating The Collective, check out our boss fight guide.
Completing The Central Resonant also rewards you with the Untapped Lighter, a Reset Item and 3,000 Source.
More Control Resonant Boss Guides
- How to Beat The Artist in Control Resonant Read the guide
- How to Beat The Dancer in Control Resonant: Boss Guide Read the guide
- How to Beat The Collective in Control Resonant Read the guide
- Beating the Hiss Ruiner in Control Resonant Read the guide